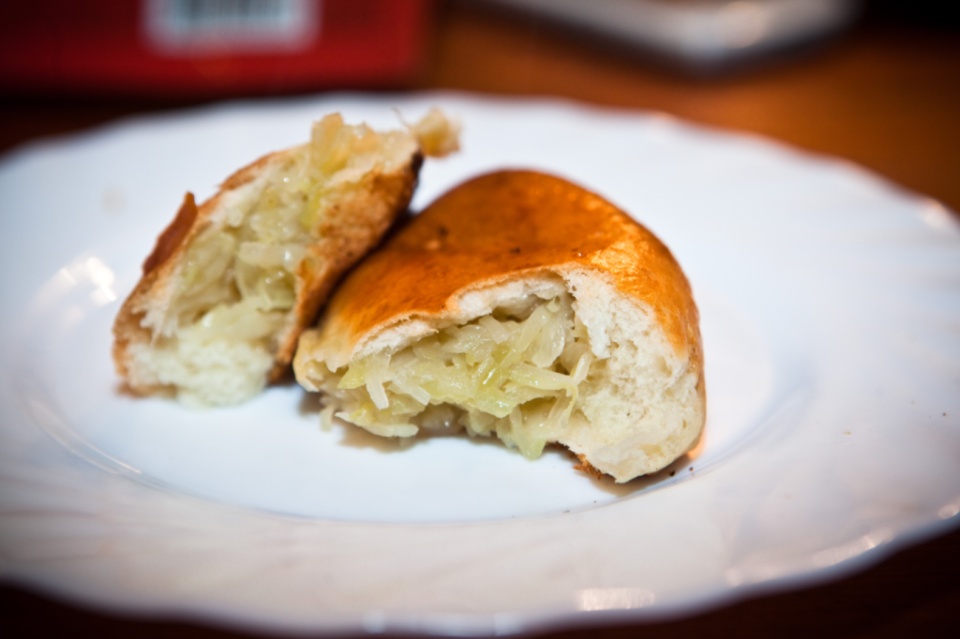
Deep-Fried Pirozhki with Potatoes and Mushroom
These deep-fried pirozhki are a traditional Russian dish. The dough is very simple; you will enjoy working with it and definitely love the result.

Ingredients for 15 pirozhki:
1 cup water
2.5 cups flour
1 tsp yeast
1 Tbs sugar
1.5 tsp salt
1-1.5 cups vegetable (sunflower) oil
1.5 lbs potatoes
12 oz mushrooms (champignons – button mushrooms)
2 onions

First let’s make the dough since it requires some time for resting.
Pour a cup of warm water (about 90-100F) into a deep bowl.
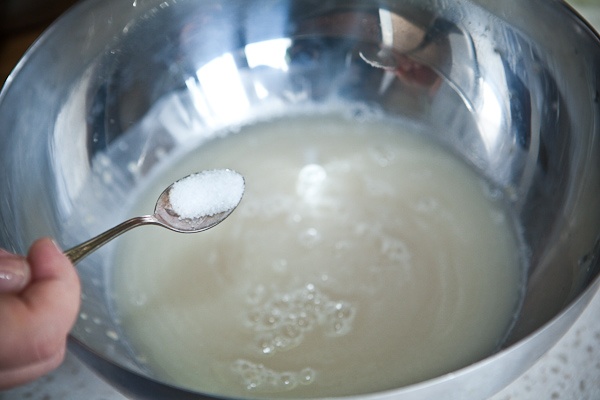
Add the sugar.
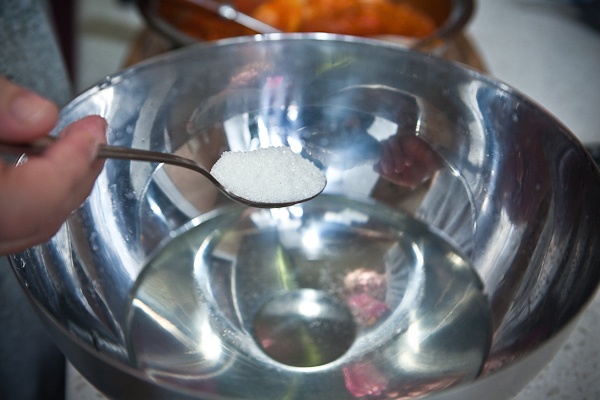
Add the yeast.
Stir a little to combine the yeast, sugar and water together.
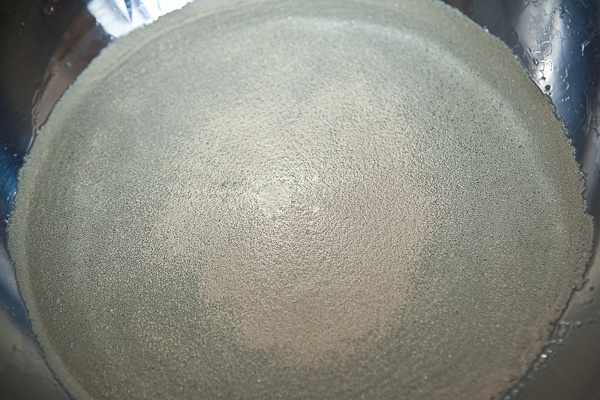
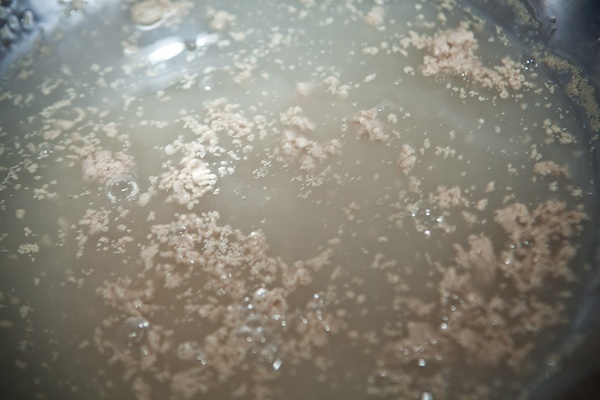
The yeast needs some time to activate. You will see that the process has started in about 10 minutes: there will be foam on the surface, or the water will have tiny air bubbles and look as if carbonated.
At this point add half of a teaspoon of the salt.
Stir well.
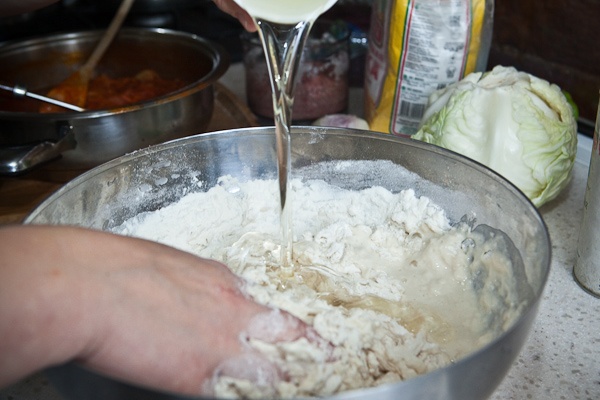
Add the flour.
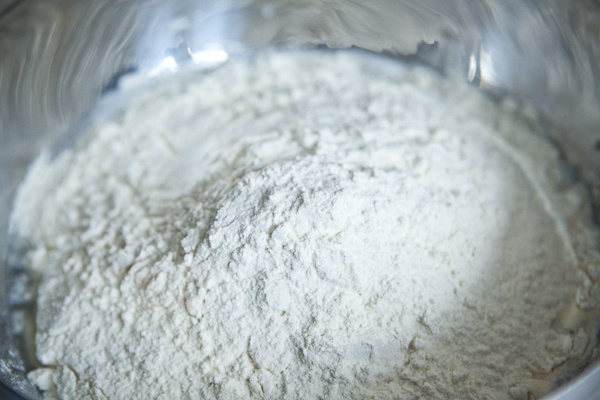
Always measure the water and flour with the same cup to ensure correct proportions.
Prepare 1/3 of a cup of the vegetable oil for the dough and set aside.

Start by mixing the dough in the bowl.
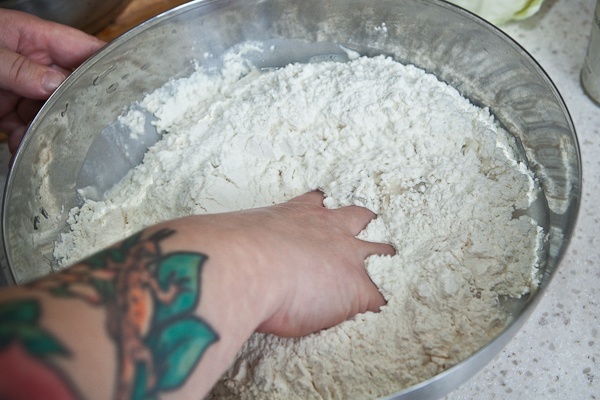
First stir everything to combine the flour with the water.
Then pour in the oil. It’s important to prevent the oil from getting directly onto the yeast.
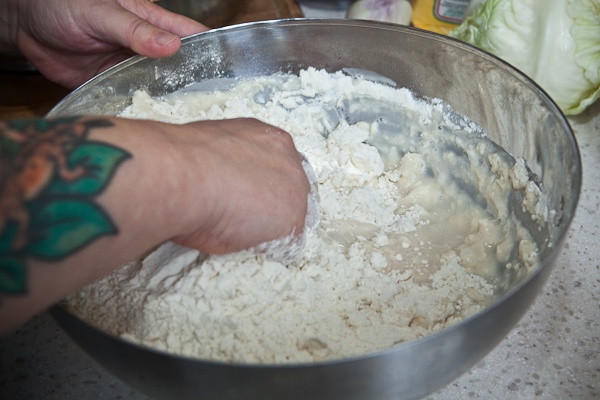
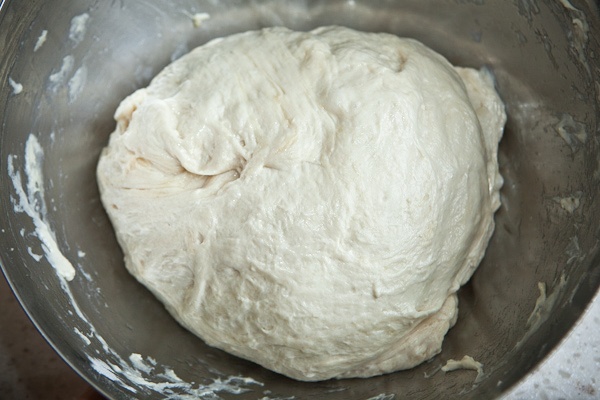
Knead the dough.
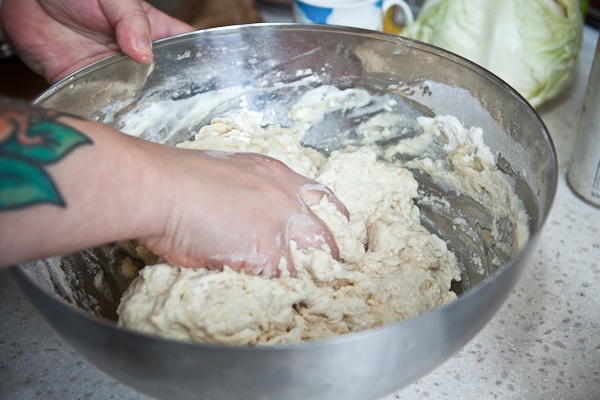
It should stop sticking to the sides of the bowl and absorb all the flour.
Do not knead the dough till it’s smooth.
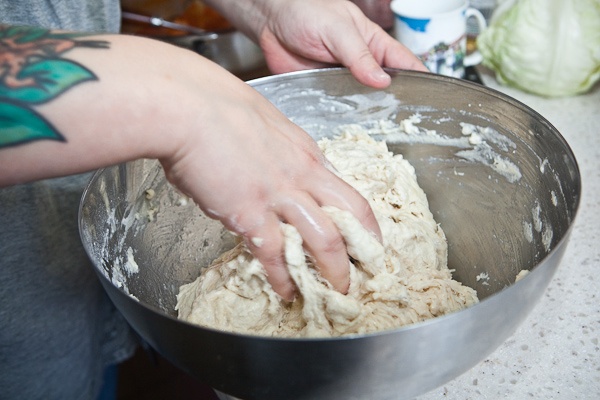
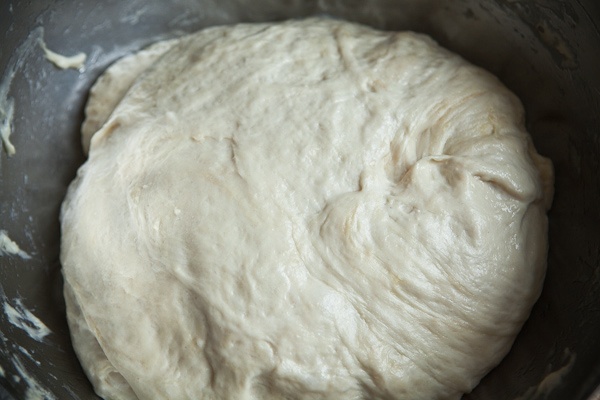
Set the dough aside for 20 minutes. During this time the gluten will swell up and you’ll be able to knead the dough very quickly until completely smooth.
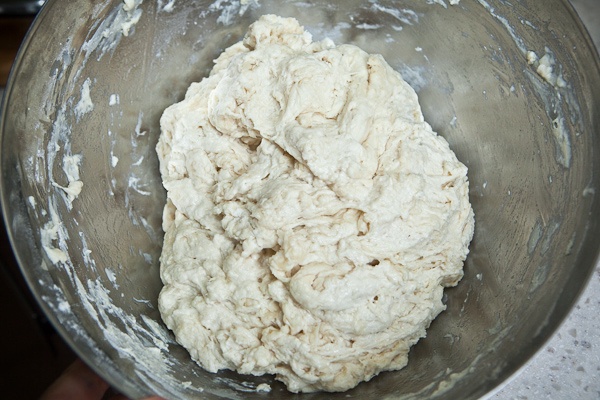
Cover the dough with a towel or plastic film (so that the top of the dough doesn’t dry up) and set aside to rise for 30 minutes.
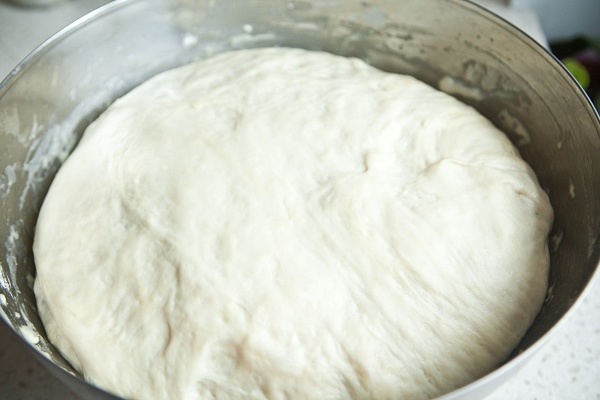
After 30 minutes, knead the dough a little bit with your hands right in the bowl and set aside to rise for another half an hour.
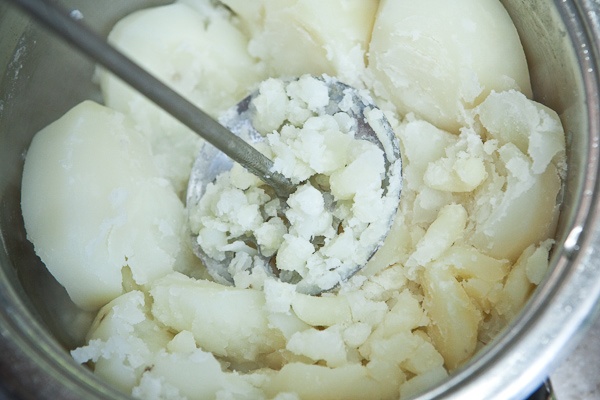
Now it’s time to make the filling. Peel the potatoes and place into a pot, cover with the water and add one teaspoon of the salt.
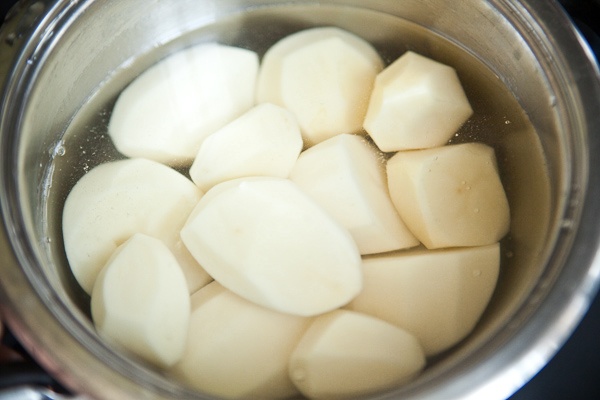
Cook the potatoes for 25 minutes after the water boils.
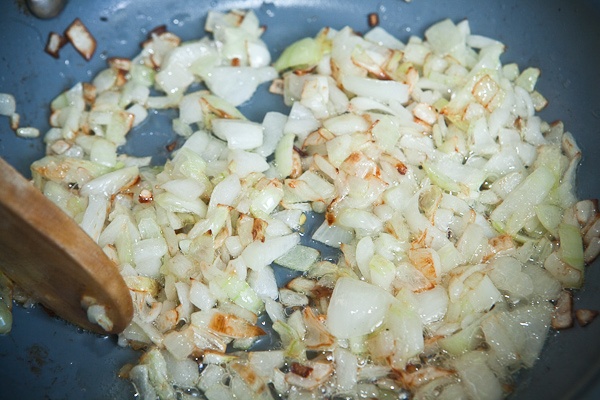
Peel the onions and chop into small cubes.
Sauté the onions in 4-5 tablespoons of the oil till golden-brown.
Cut the mushrooms into small pieces.
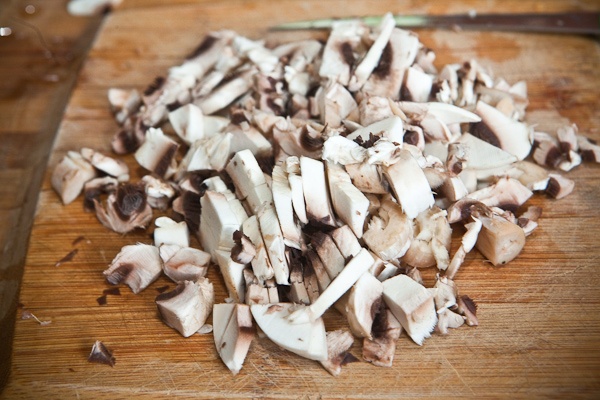
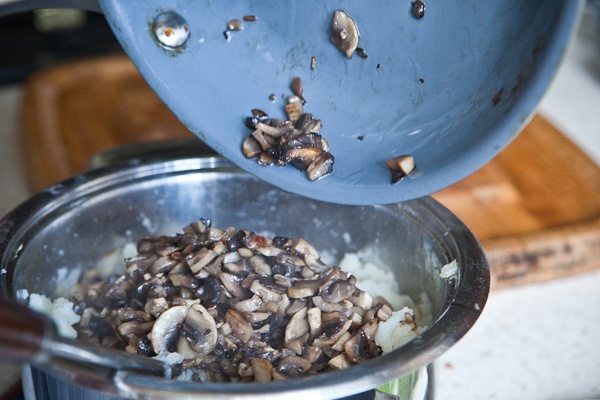
Transfer to a skillet. Cook the mushrooms stirring constantly till all the liquid evaporates. Then add 2-3 tablespoons of the oil and sauté till golden and crunchy.
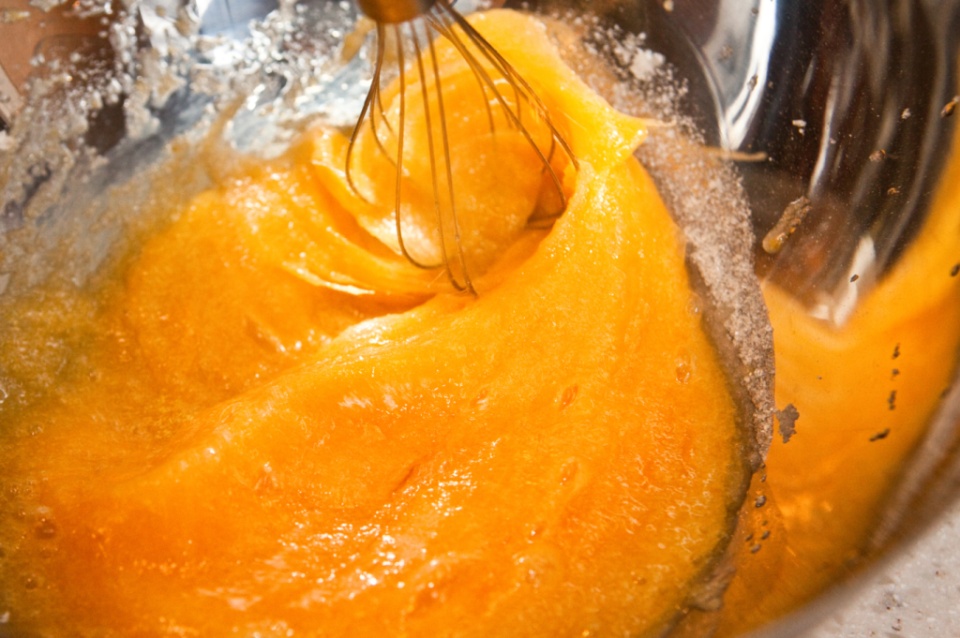
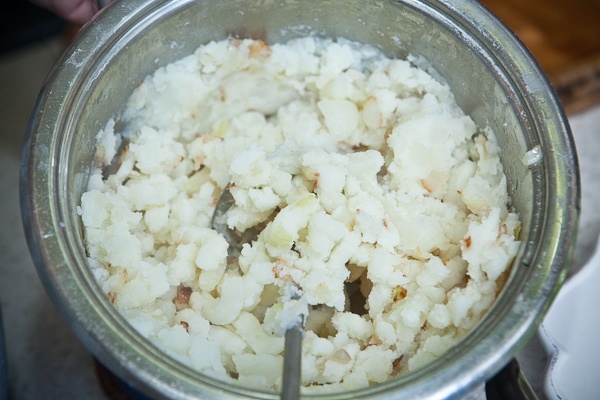
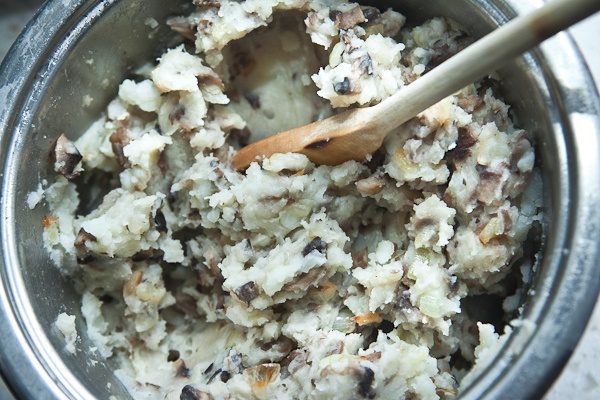
Strain the water from the pot with the potatoes. Mash the potatoes with a potato masher right in the pot.
Add in the onion along with the oil it was cooking in and stir well to combine.
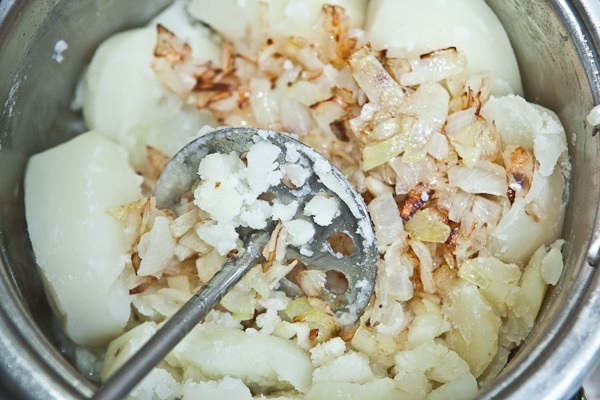
Add in the mushrooms.
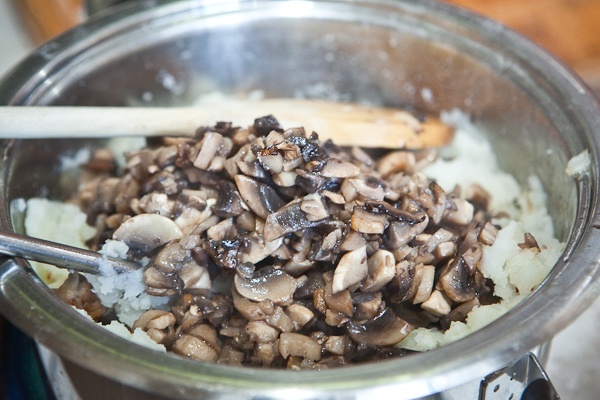
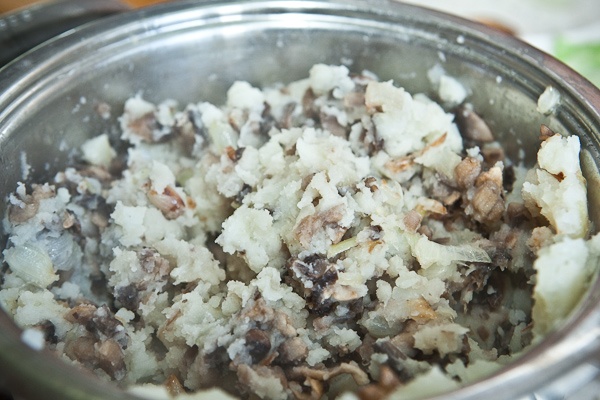
Stir everything again and set aside to cool.
Place the well-risen dough onto your working surface lightly greased with the vegetable oil.
Divide the dough into 15 parts. Roll each part into a ball.
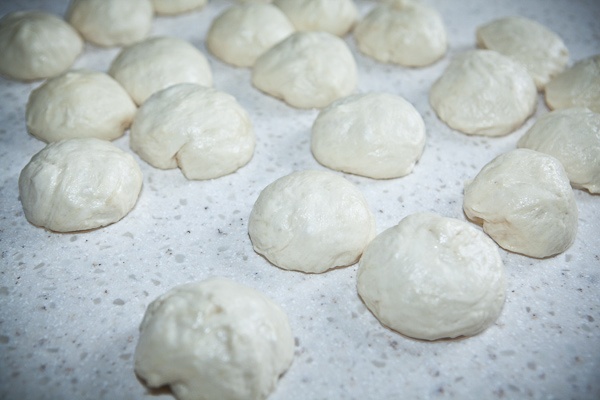
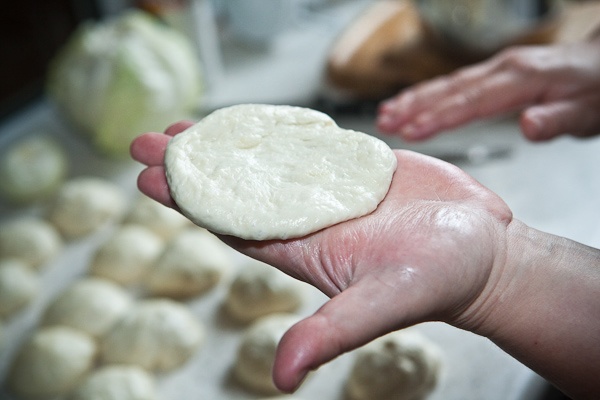
The dough is very soft so there’s no need for a roller.
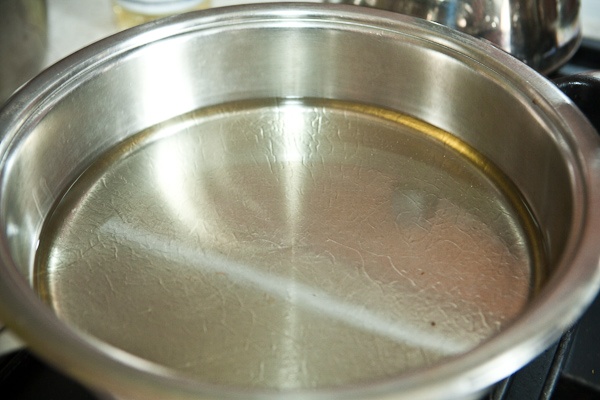
Place a thick-bottomed stew-pot or deep skillet onto the stove. Pour in about half-inch of the oil.
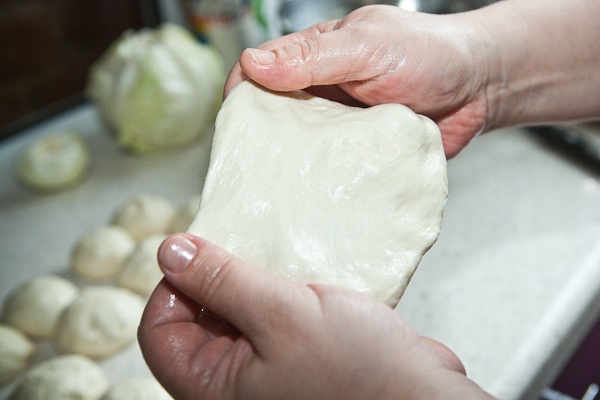
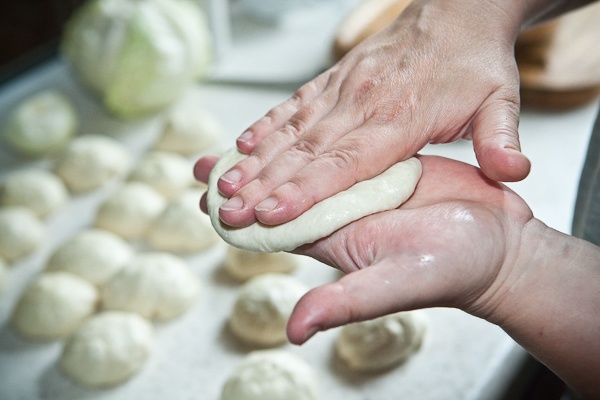
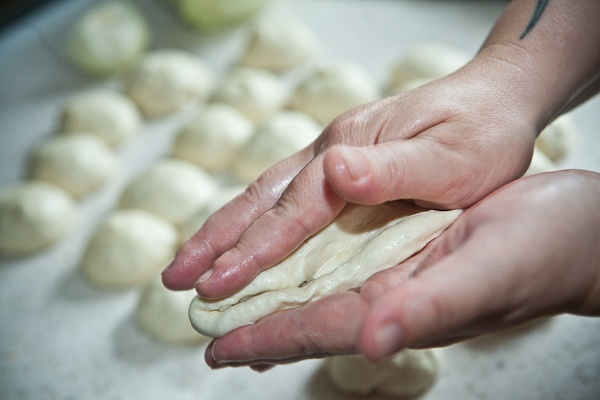
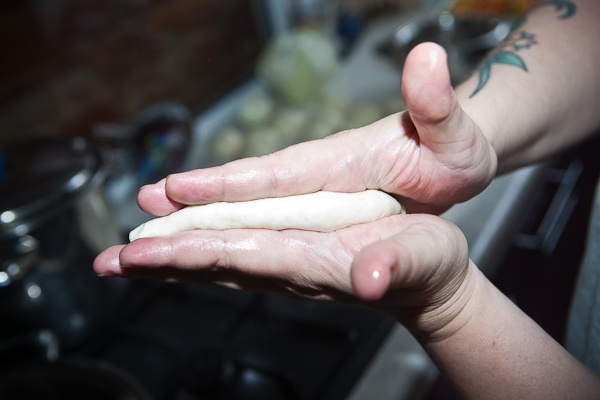
Take a dough ball into your hand and knead into a patty.
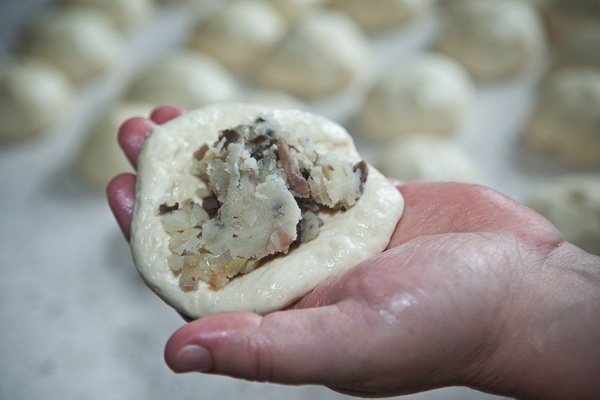
Place a generous tablespoon of the filling in the middle of the patty.
Roll the dough around the filling so that the edges of the patty overlap.
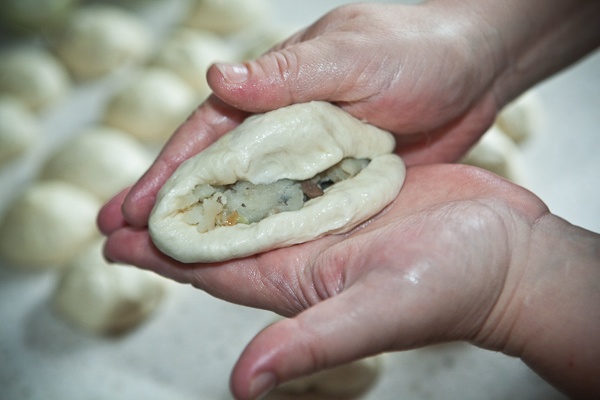
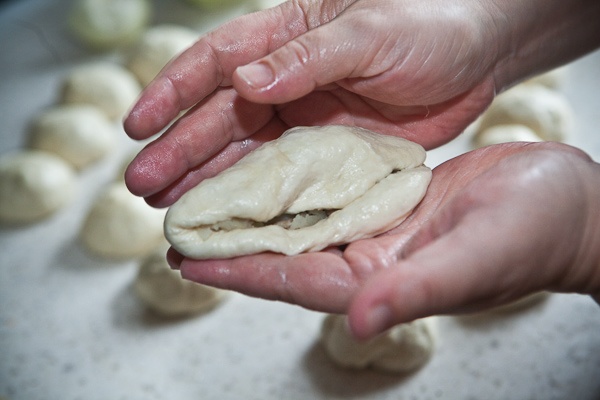
Pinch the dough closed along the edge.
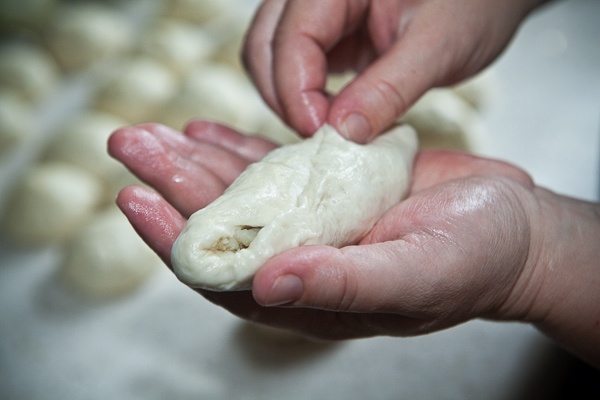

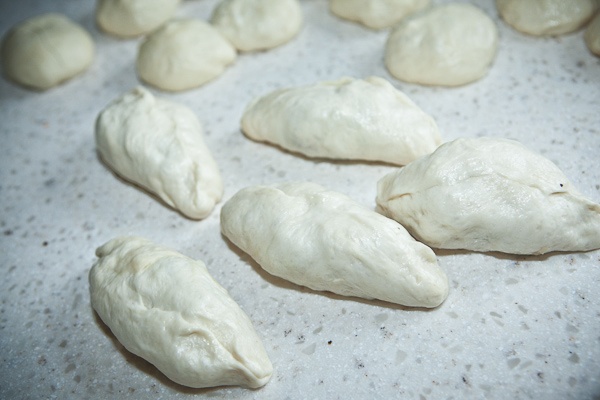
Place the pirozhki on the working surface with the seams up.
As soon as the oil is heated but not smoking (be careful not to overheat) turn the heat down to below medium.
Take one pirozhki at a time into your hand, seam up. With your other hand, flatten it a little.
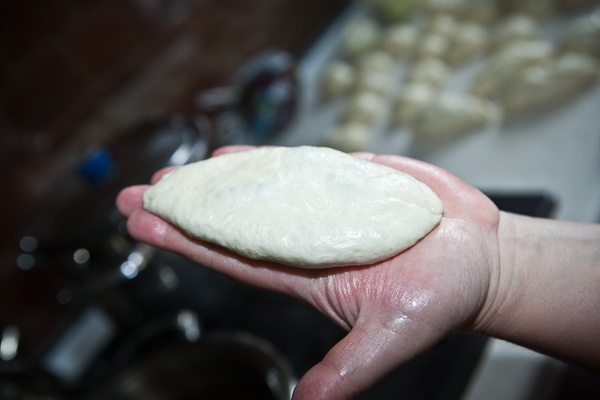
If the edges open, pinch the edges closed again.
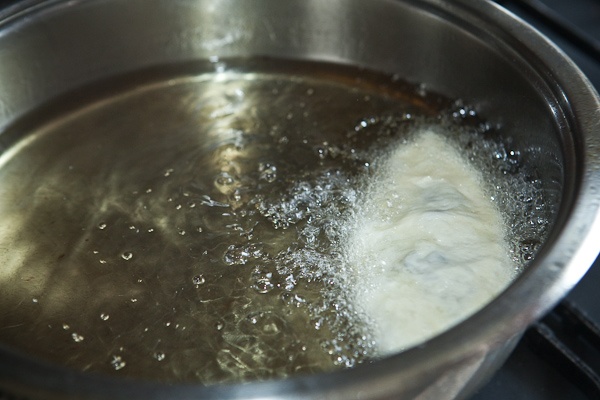
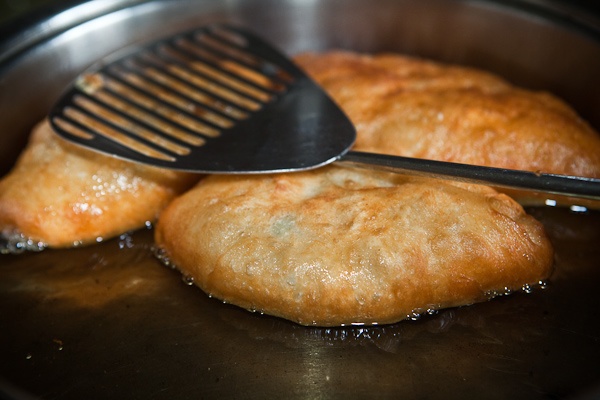
Carefully place the pirozhki into the heated oil seams down.
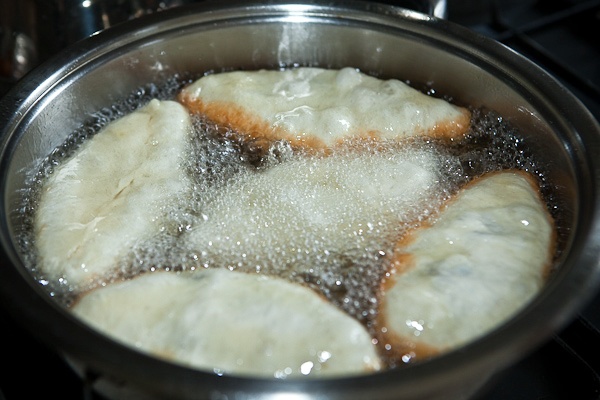
You only need to cook the pirozhki till the dough is done since the filling was cooked already.
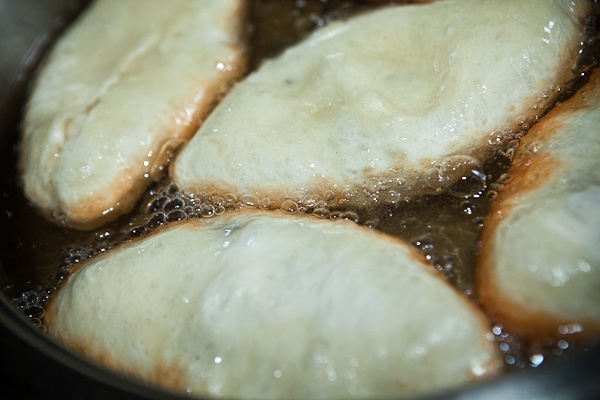
Cook them on one side for 1.5 – 2 minutes.
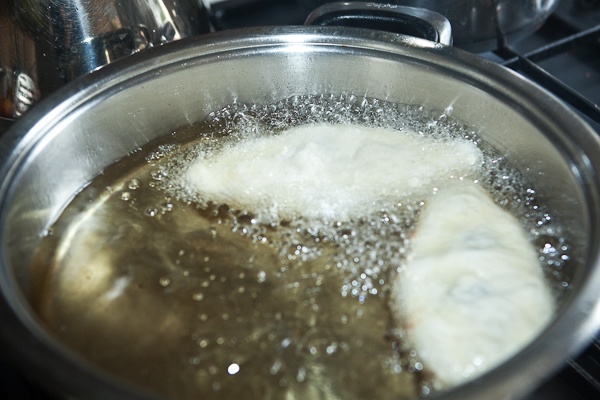
You can tell the doneness by the color of the dough – as soon as it becomes golden-brown, carefully turn it over with a slotted spoon.
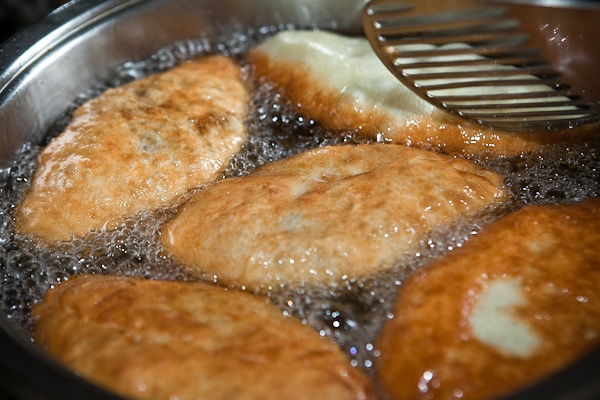
Cook on the other side till golden-brown.
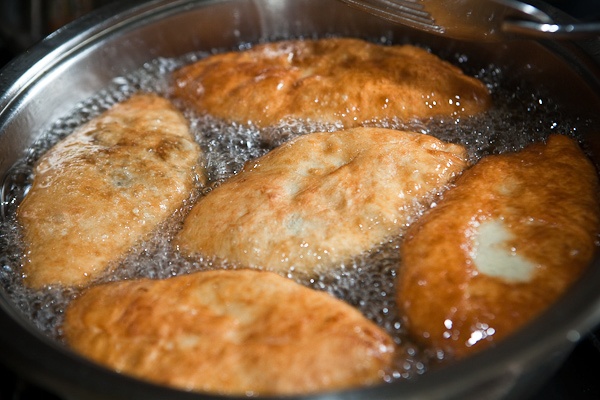
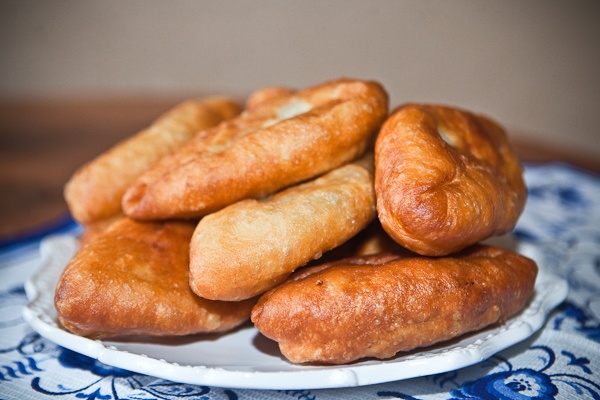
When ready, remove with the slotted spoon onto the paper towels to absorb the excess oil.
Then transfer the pirozhki onto a serving dish and serve hot.
If necessary, you can add a little oil during cooking to maintain the necessary level.
Yes, these pirozhki are not for the calorie-conscious, but they’re so delicious that you should let yourself enjoy this treat at least once in a while!