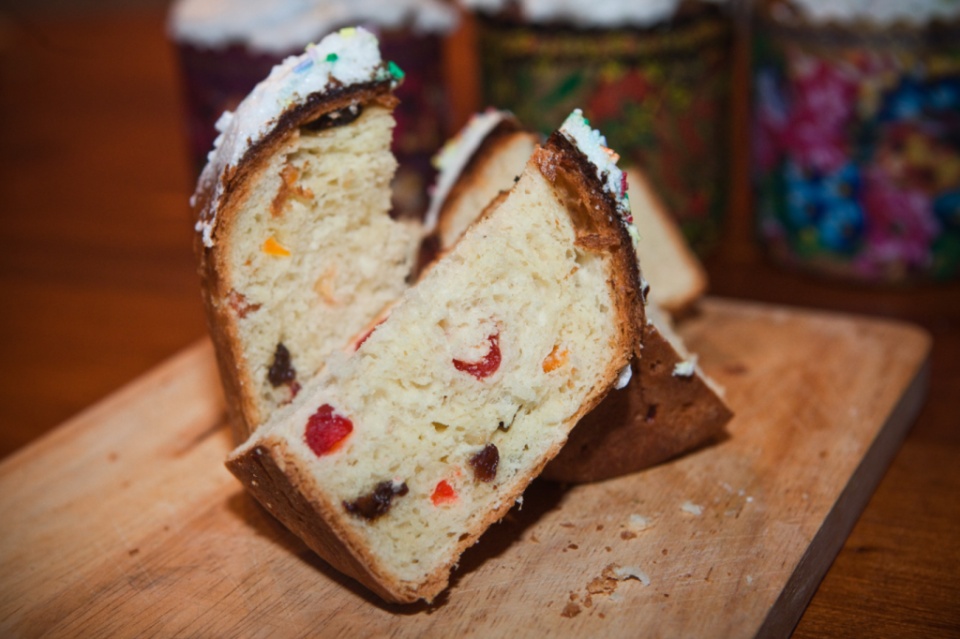
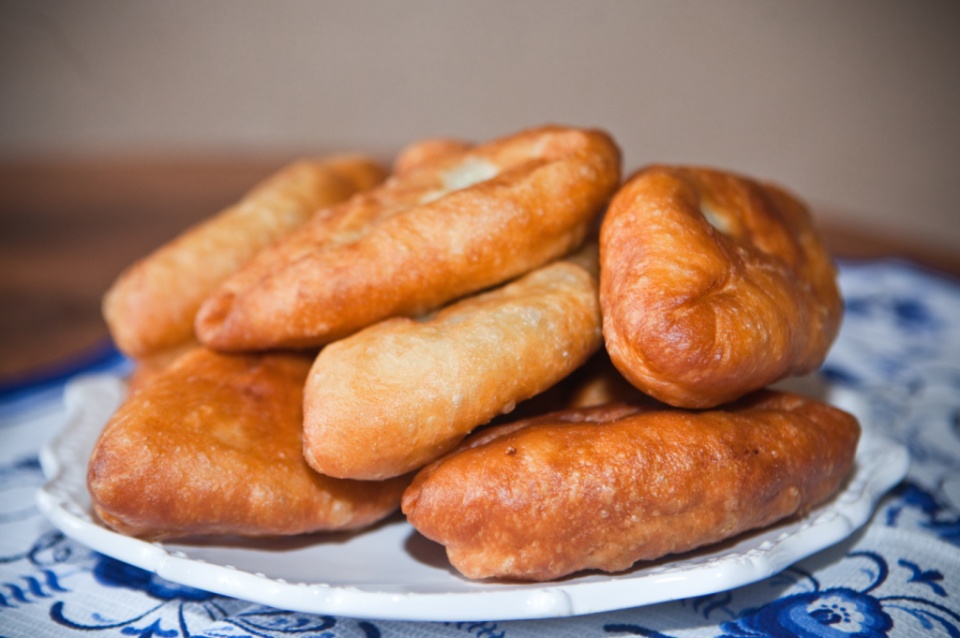
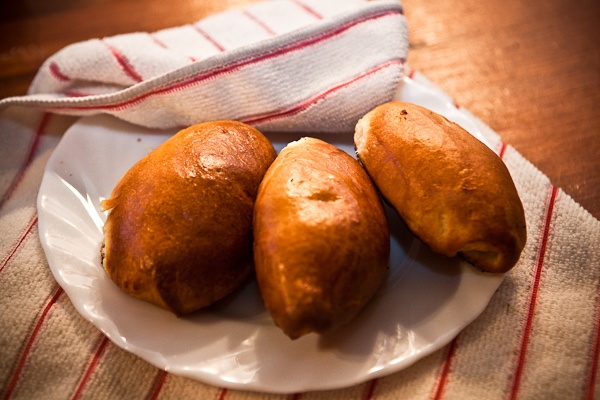
Cabbage Pirozhki
Russian pirozhki are little pies – made from dough with various fillings. They can have a variety of fillings ranging from meat to fruit, but the cabbage pies are probably the most famous.

Ingredients:
Dough:
3.5 oz butter
7 oz half-and-half
1.5 lbs flour
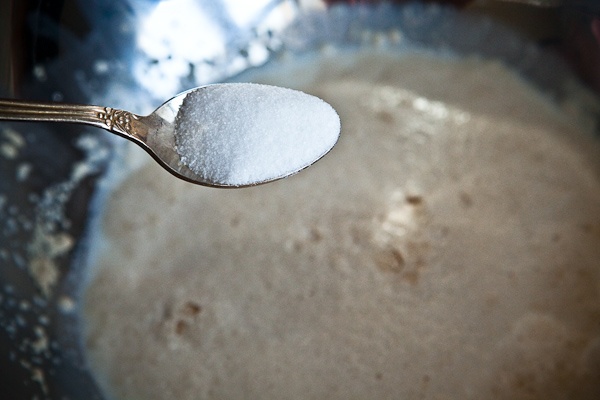
3 tablespoons sugar
1 teaspoon salt
1 package (0.4 oz) active dry yeast
Filling:
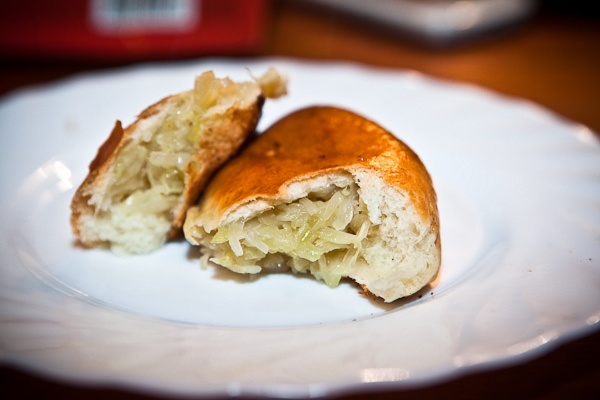
3 lbs green cabbage
2 oz vegetable (sunflower) oil
1 teaspoon salt
1 egg for glazing the pies
They take a while to make since preparing the yeast dough requires time.
Don’t fret though: even a kitchen novice can make these pies easily with our detailed recipe.
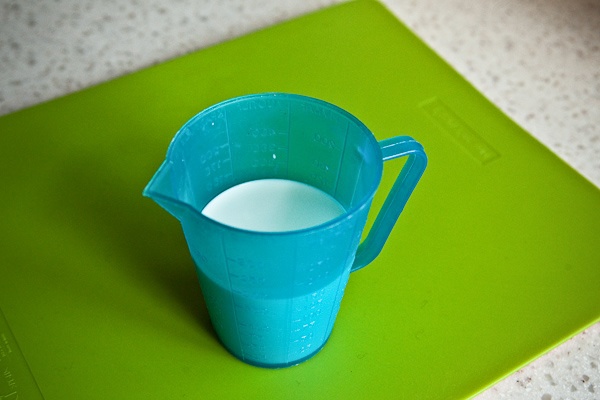
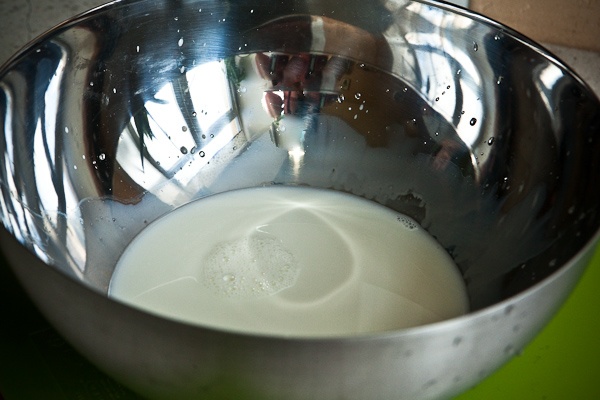
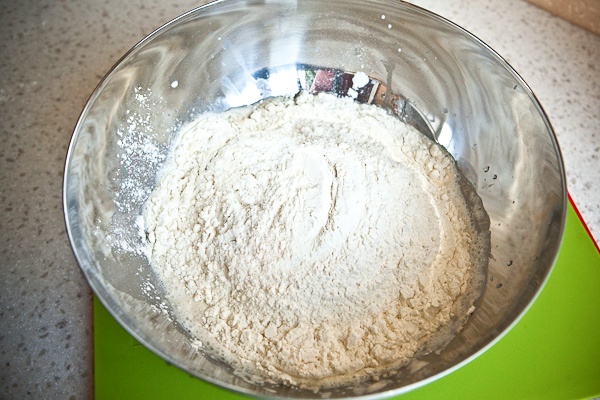
Let’s start with the dough. You will need a large (12 oz) cup or glass. Pour in the cold half-and-half and add boiling water to the brim.

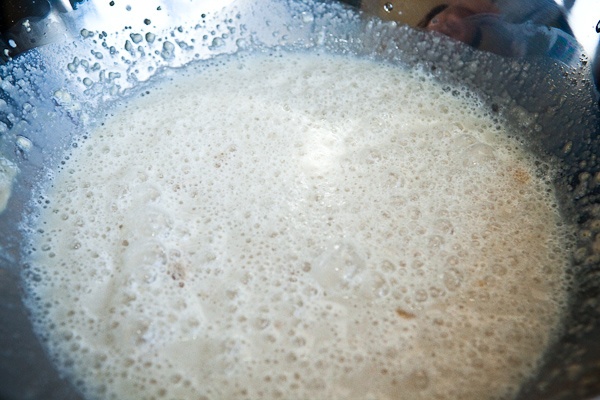
Pour the half-and-half mixture into a bowl. Add the sugar and the yeast.
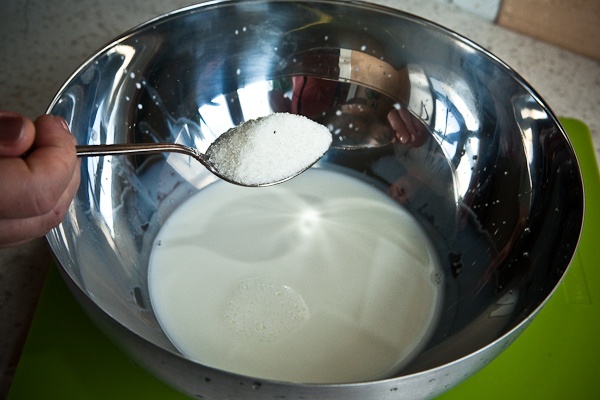
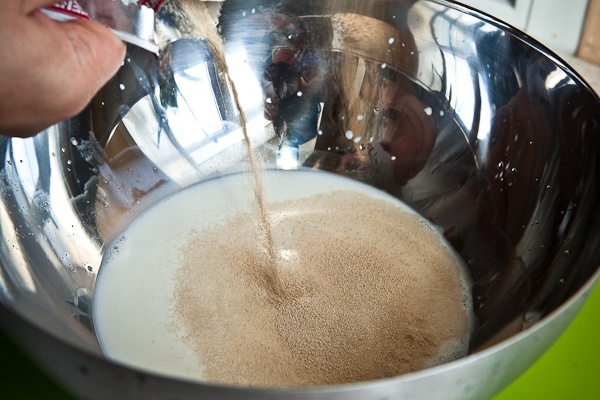
Stir the yeast a bit (just to moisten) and leave it alone for 10-15 minutes.
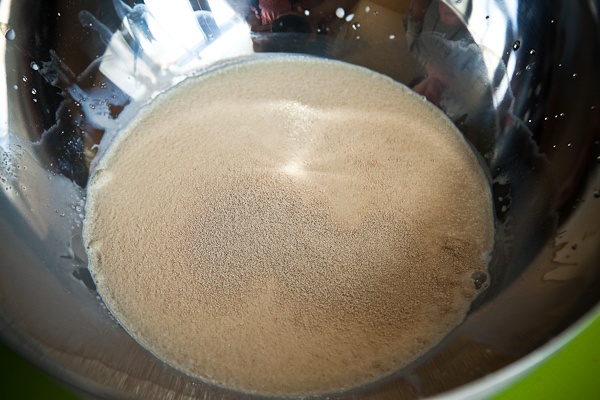
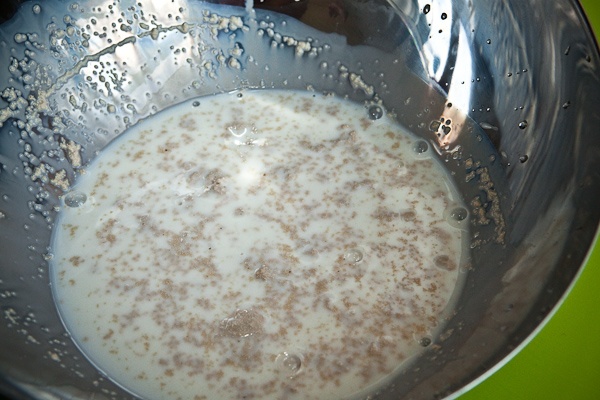
In a while you will see foam meaning that the yeast has started “working”.

Add the salt and stir well.
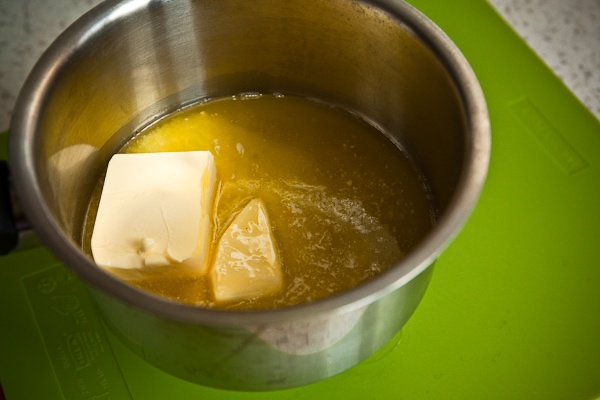
Melt the butter but don’t let it boil; set aside.
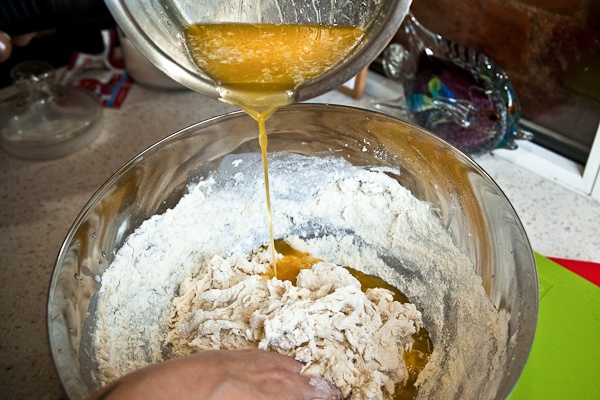
Pour the flour into the yeast mixture. Use the same cup for measuring the flour that you used for measuring liquids.
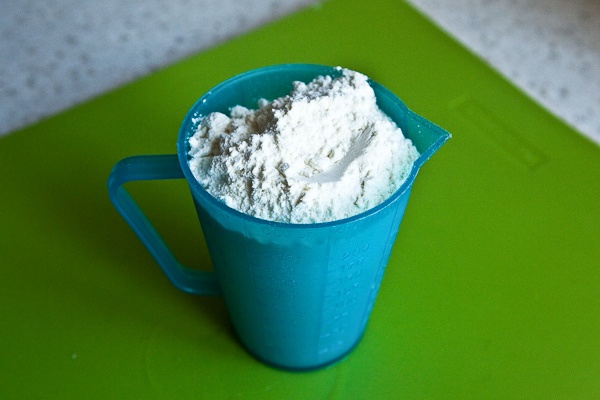
The ratio in this dough is 1:3 – one part of liquid (water, milk, cream, sour cream with water, etc) to three parts of flour.
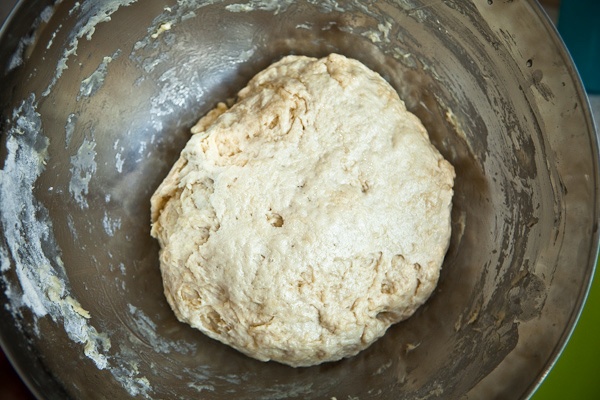
Start mixing the dough with your hand.
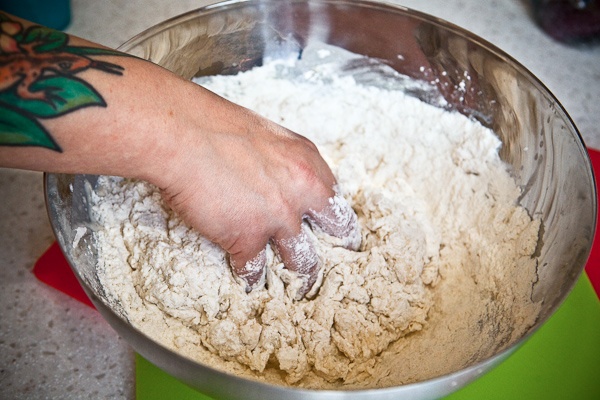
When it’s mixed well, add the melted butter.
Please keep in mind that the goal of the initial mixing is getting rid of large flour lumps rather than achieving ideal dough texture.
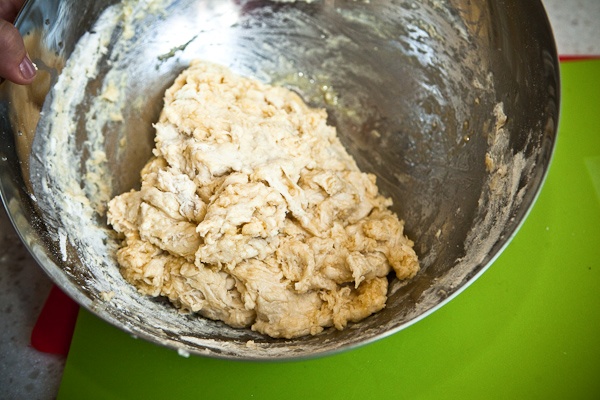
Put the dough aside for 15-20 minutes.
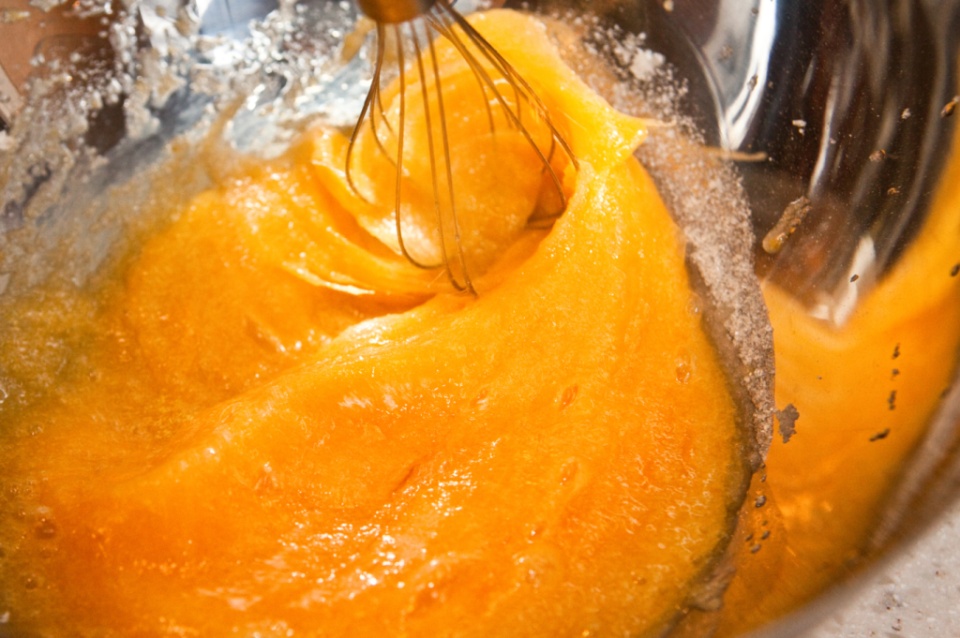
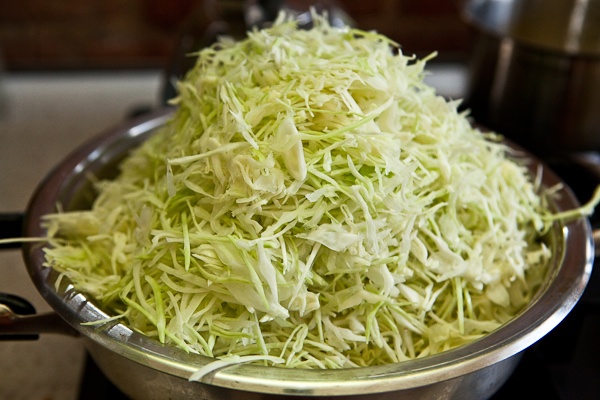
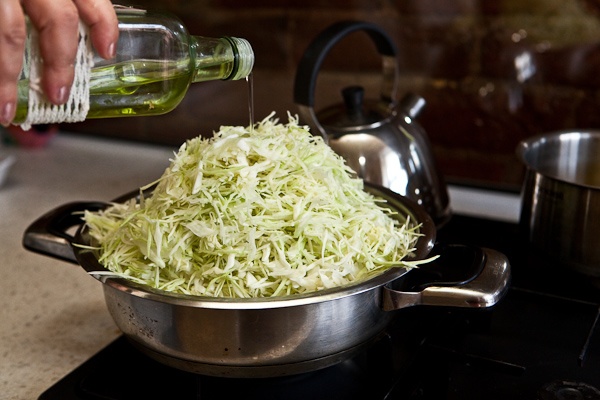
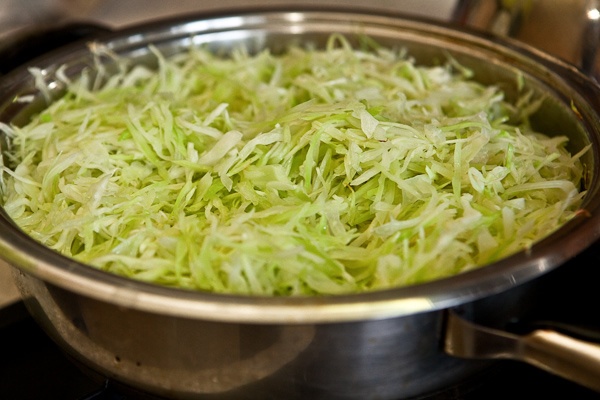
Start preparing the filling. Thinly slice the cabbage and place into a stewpot.
Add the oil and one teaspoon of salt, then pour in one glass of water.
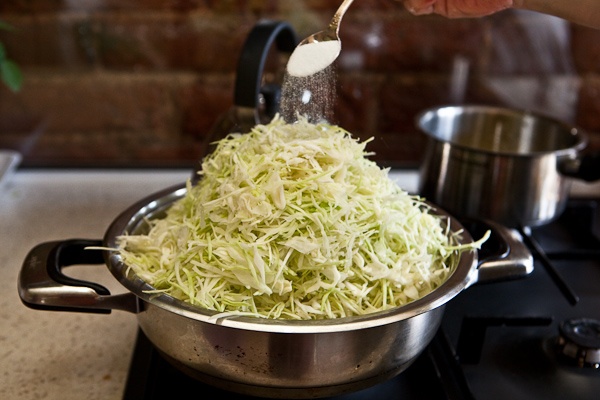
Cover and place on the stove.
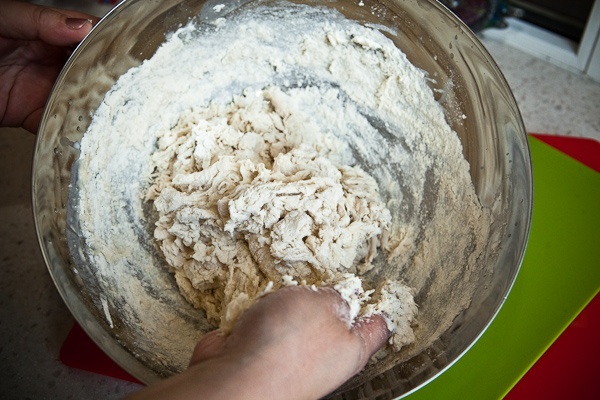
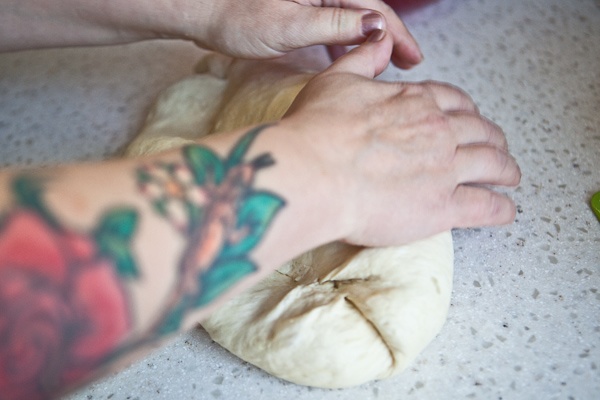
Now’s the time to knead the dough since the gluten has had the time to expand.
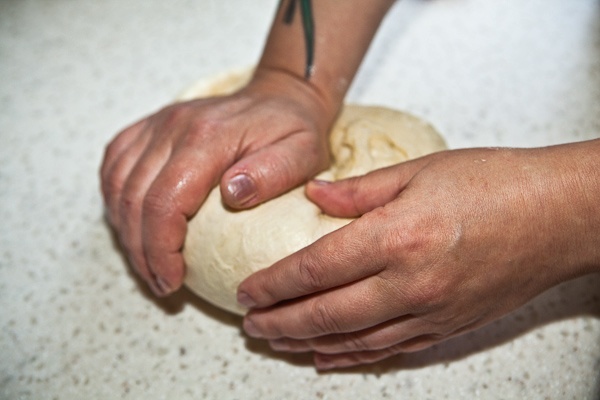
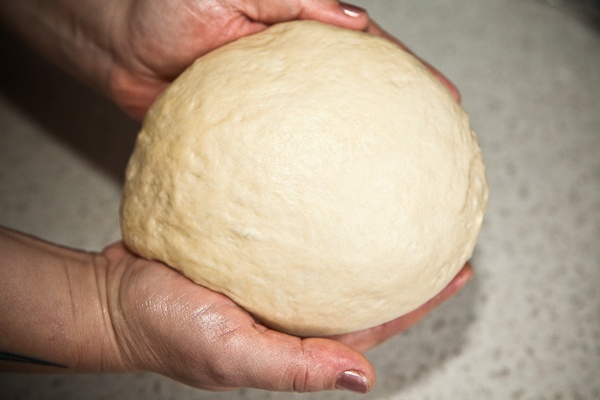
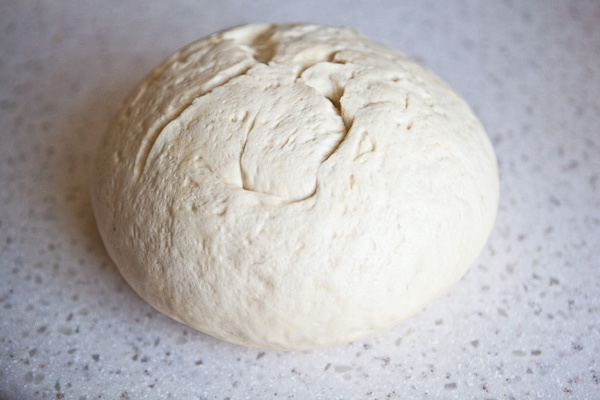
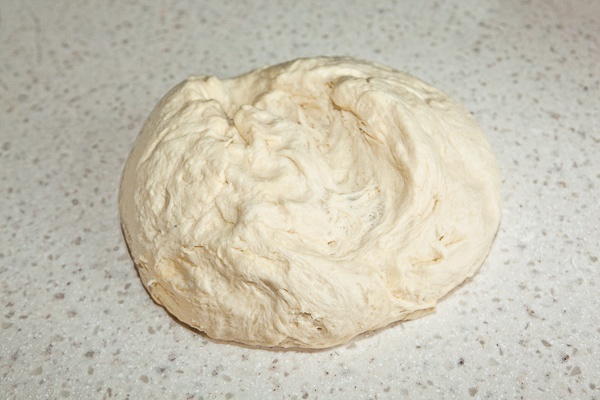
Place the dough on the kneading surface and use circular motions from the edge to the center to knead the dough simultaneously rolling it into a ball.
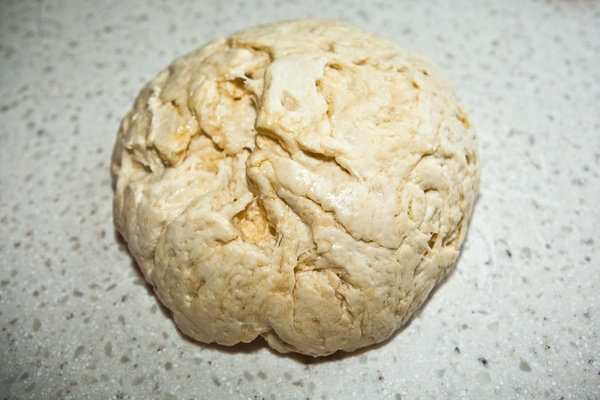
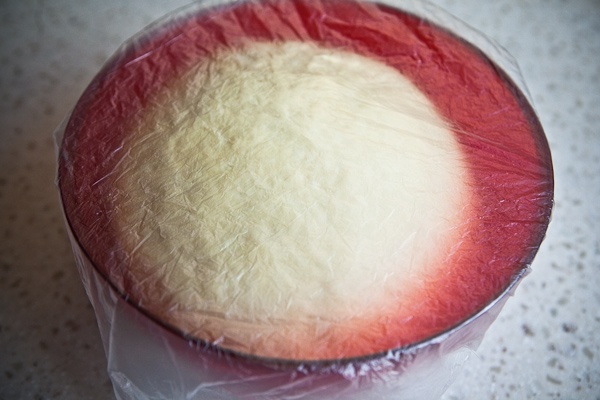
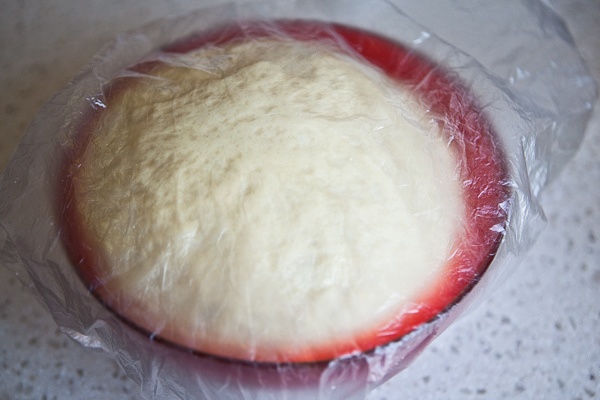
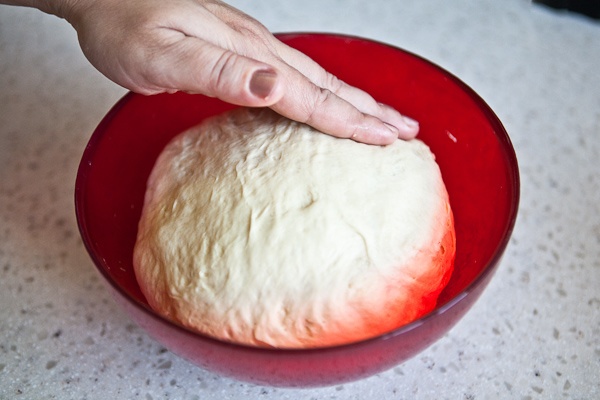
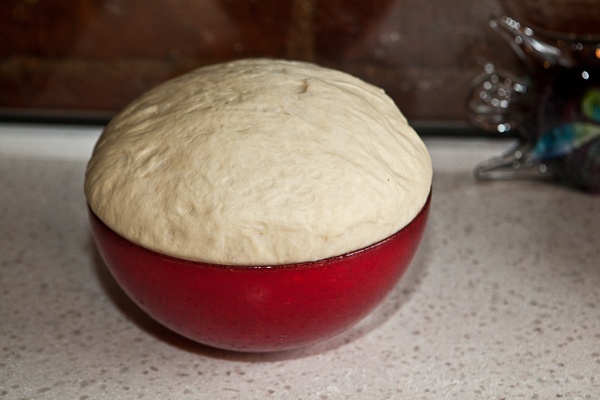
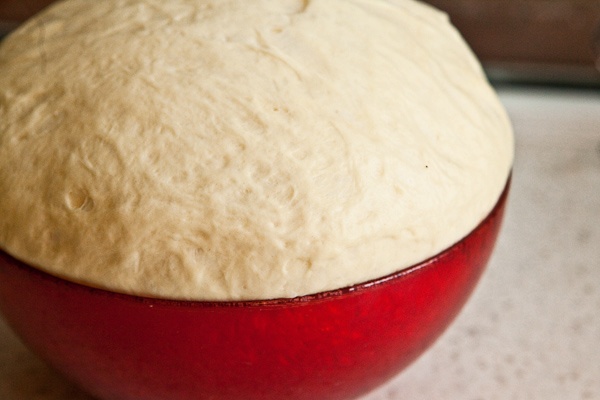
Place the dough into a bowl, cover with a plastic film or a damp towel (to prevent from drying out) and leave it for 30 minutes.
Take the cover off the stewpot. By this time the cabbage should have reduced in volume. Continue to stew stirring it periodically till all liquid evaporates.

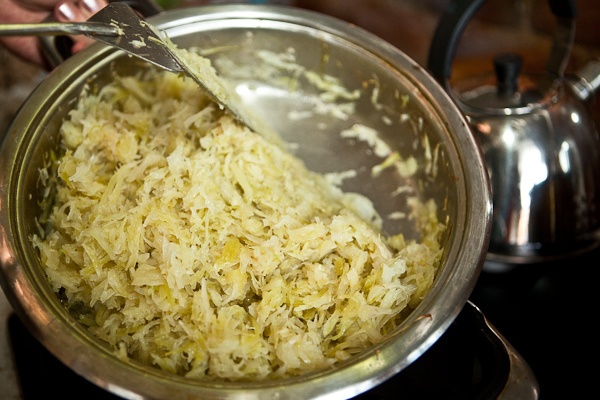
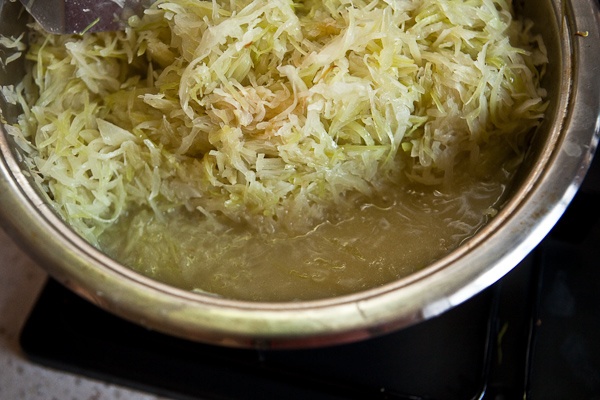
Place the cabbage into a cool place.
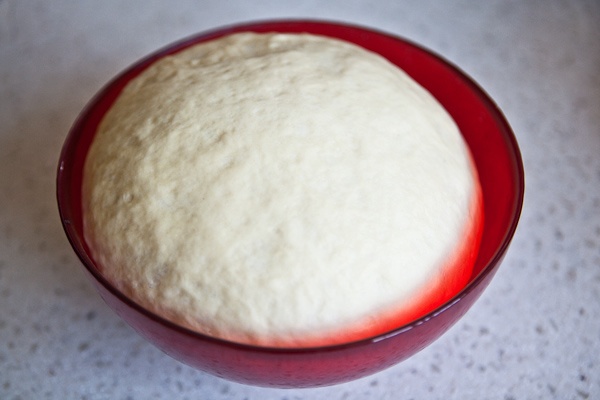
After 30 minutes return the dough to the kneading surface and knead again, rolling into a ball.

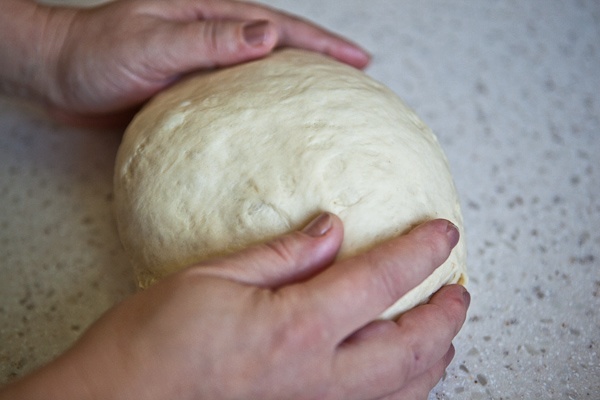
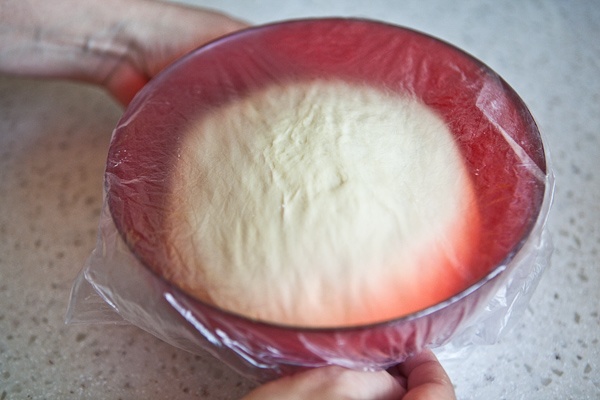
Return to the bowl and don’t forget to cover with the plastic or a towel.
At this point the dough has to rise well again – give it at least 40 minutes.

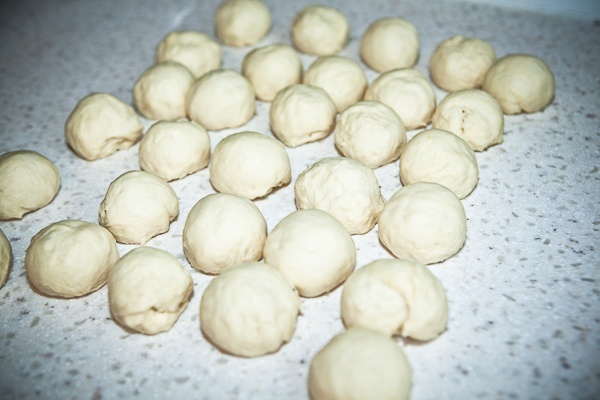
After this return the dough to the kneading surface and divide into 30 parts.
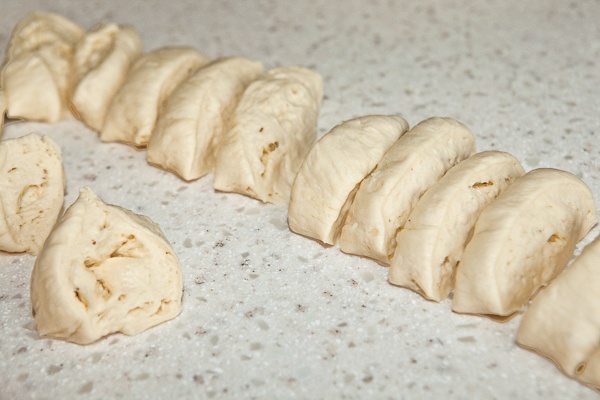
Roll each part into a small ball.
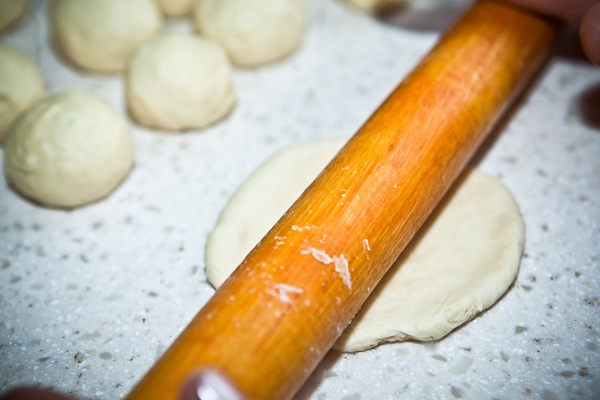
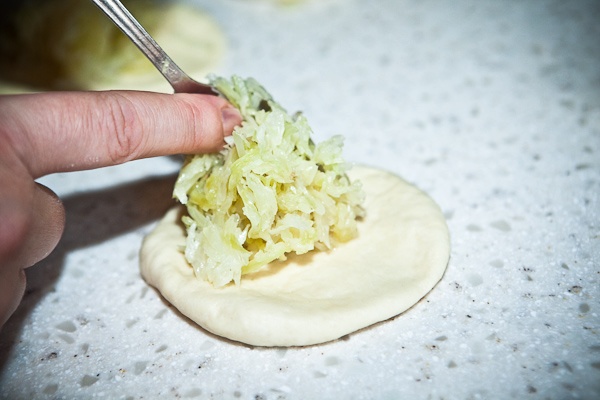
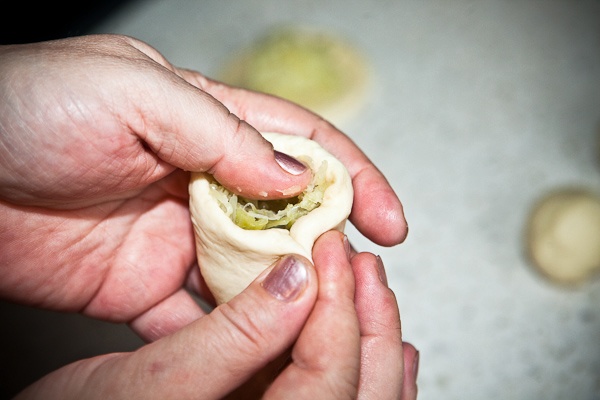
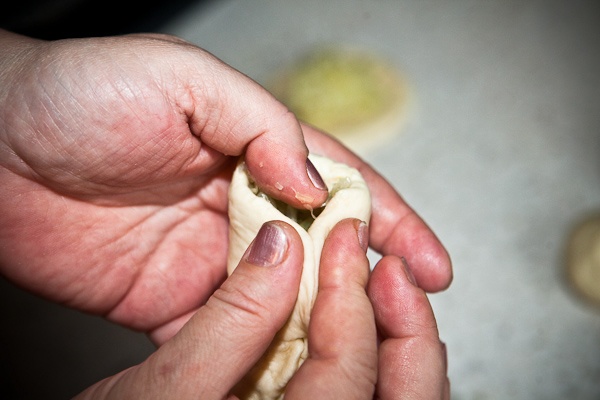
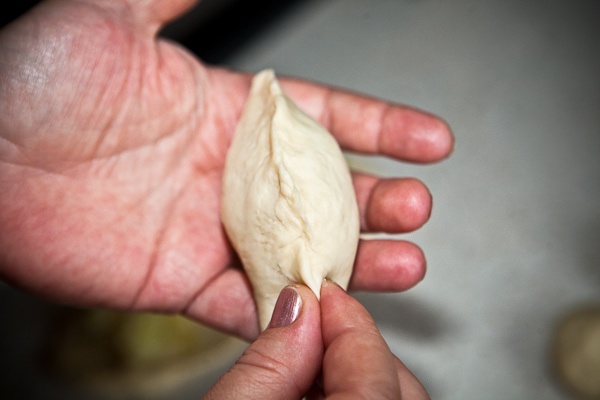
Taking one dough ball at a time, roll out into a patty and place one tablespoon of the filling into the center of the patty.
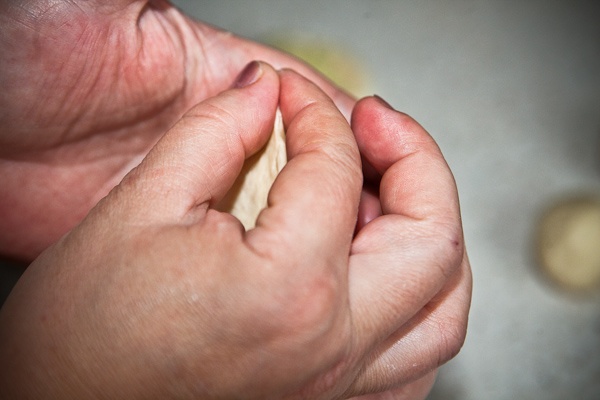
Carefully pinch the edges of the pie together.
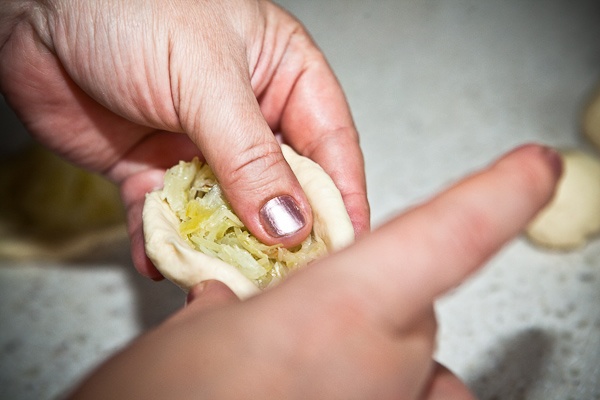
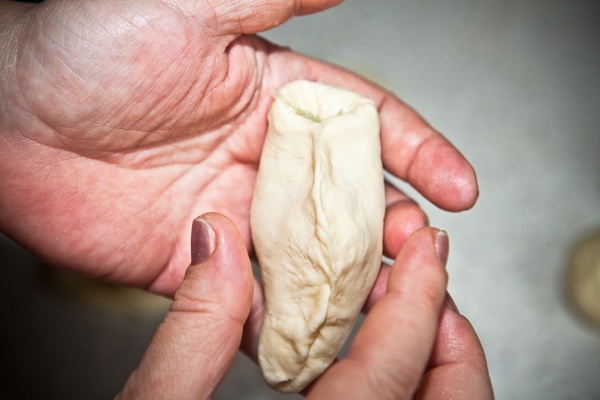
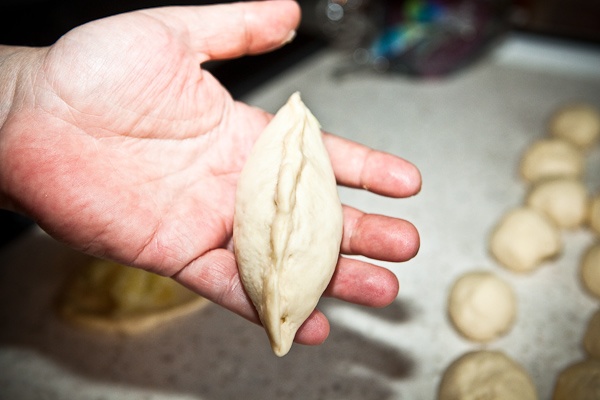
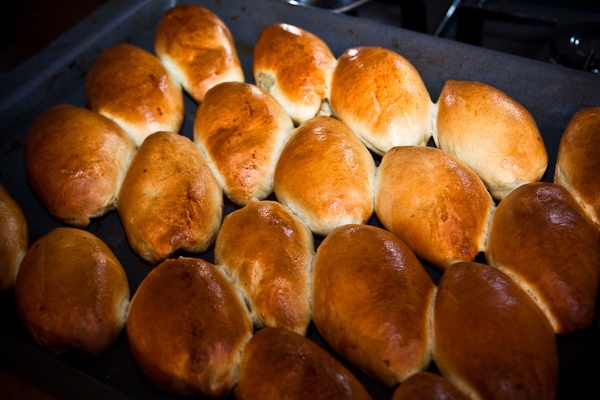
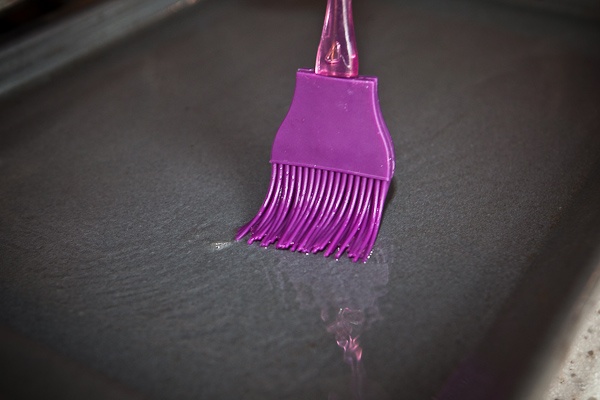
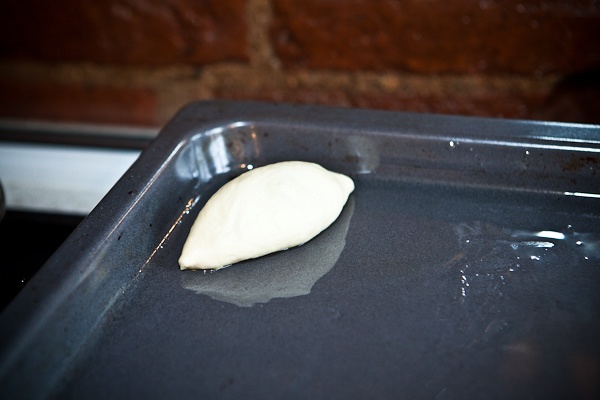
Place the pies seam-side down on a well-oiled baking sheet.
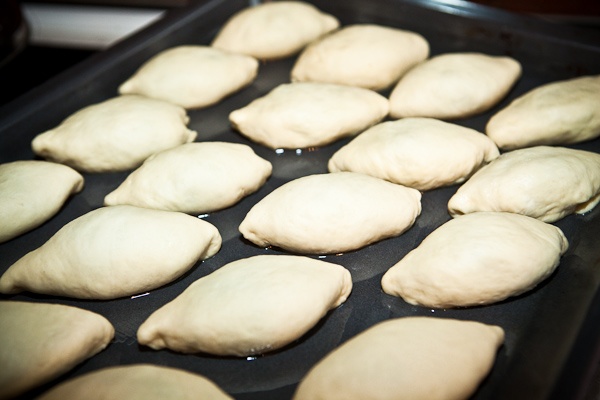
Once the pies are all on the baking sheet it’s important to let them rest before baking. Many cooks rush into baking them and end up with torn or crooked pies, as the resting is essential to let the pies rise properly in the oven.
Cover the pies with a plastic film right on the baking sheet and let them rest for at least 20 minutes.
Use this time to preheat the oven to 425F.
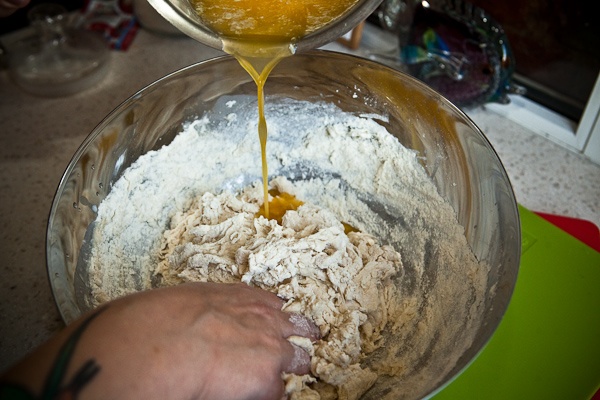
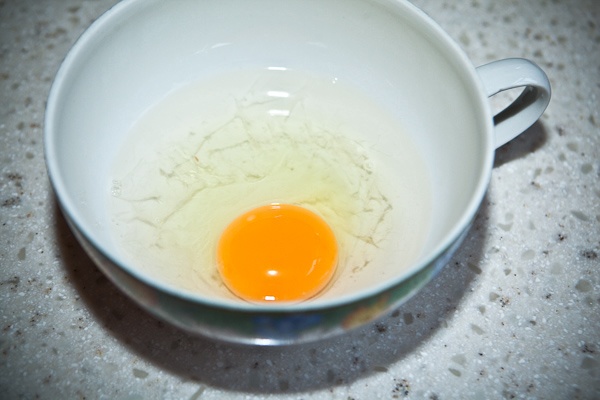
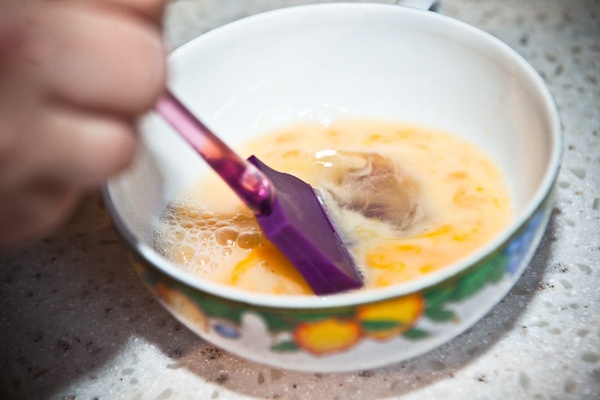
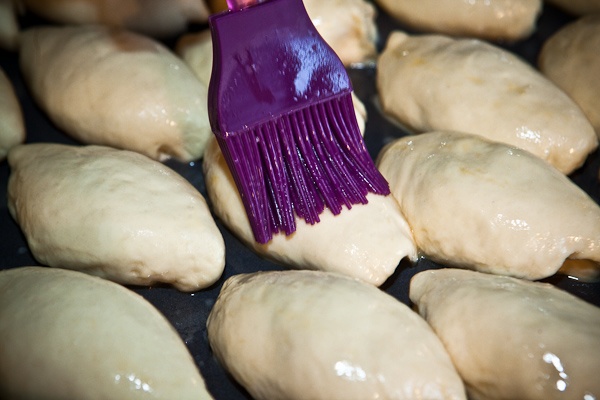
Break an egg into a bowl, add the same amount of water and mix together.
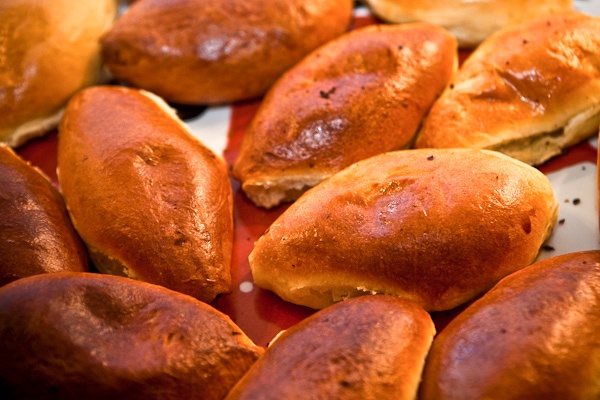
Using a brush, glaze the pies with the egg mixture.
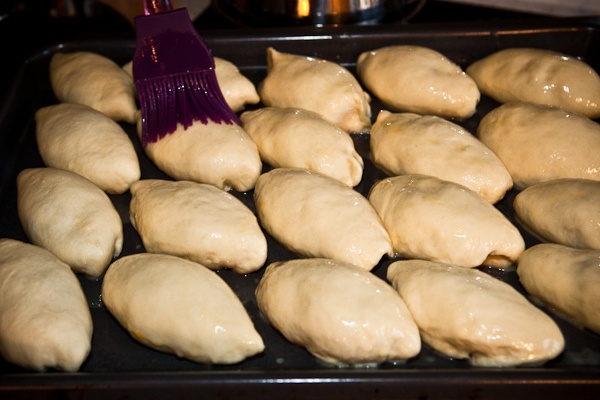
Place the baking sheet into the oven and bake for 8 minutes.
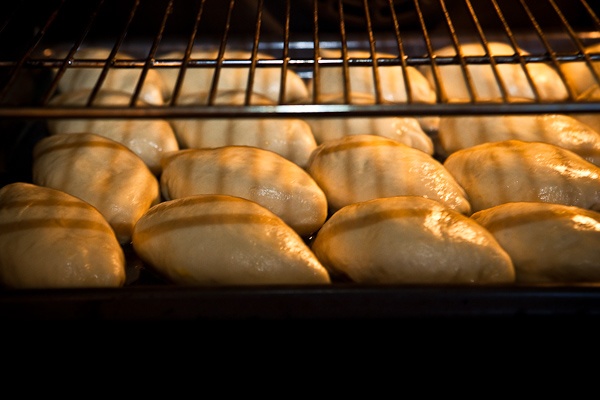
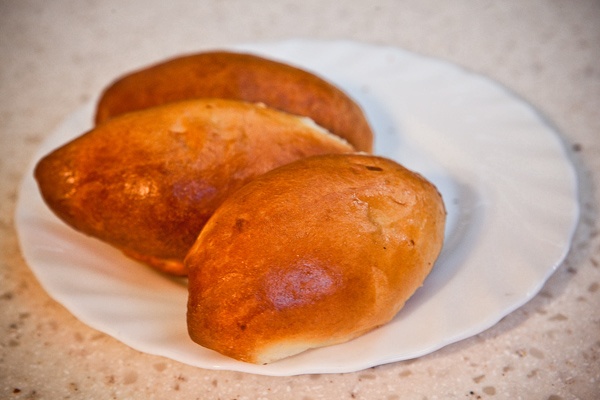
Take the cooked pies from the baking sheet immediately and enjoy. The dough should be soft and delicate.