Chicken Kiev
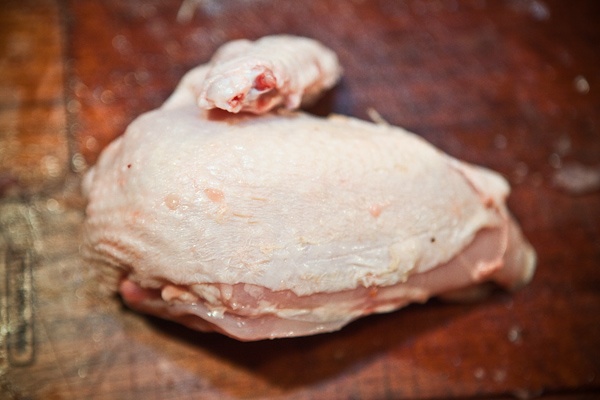
The famous Chicken Kiev is made from a piece of chicken meat on the bone. To make this dish you will need the upper part of the chicken – the breast with the wings.

Serves 2
Upper part of the chicken (breast with wings)
1 oz butter
One quarter of a lemon
1 tablespoon flour
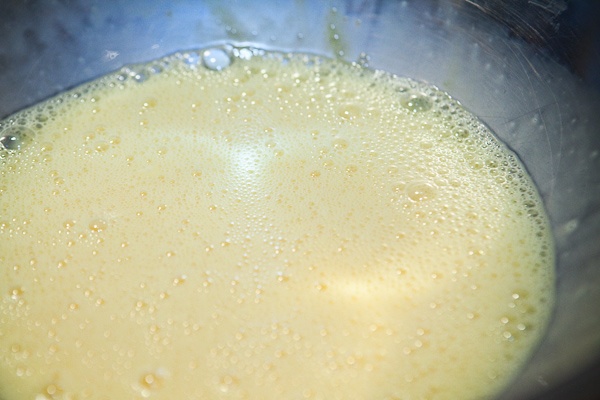
1 egg, beaten
3 tablespoons bread crumbs
1 cup vegetable oil for deep-frying
Pinch of salt
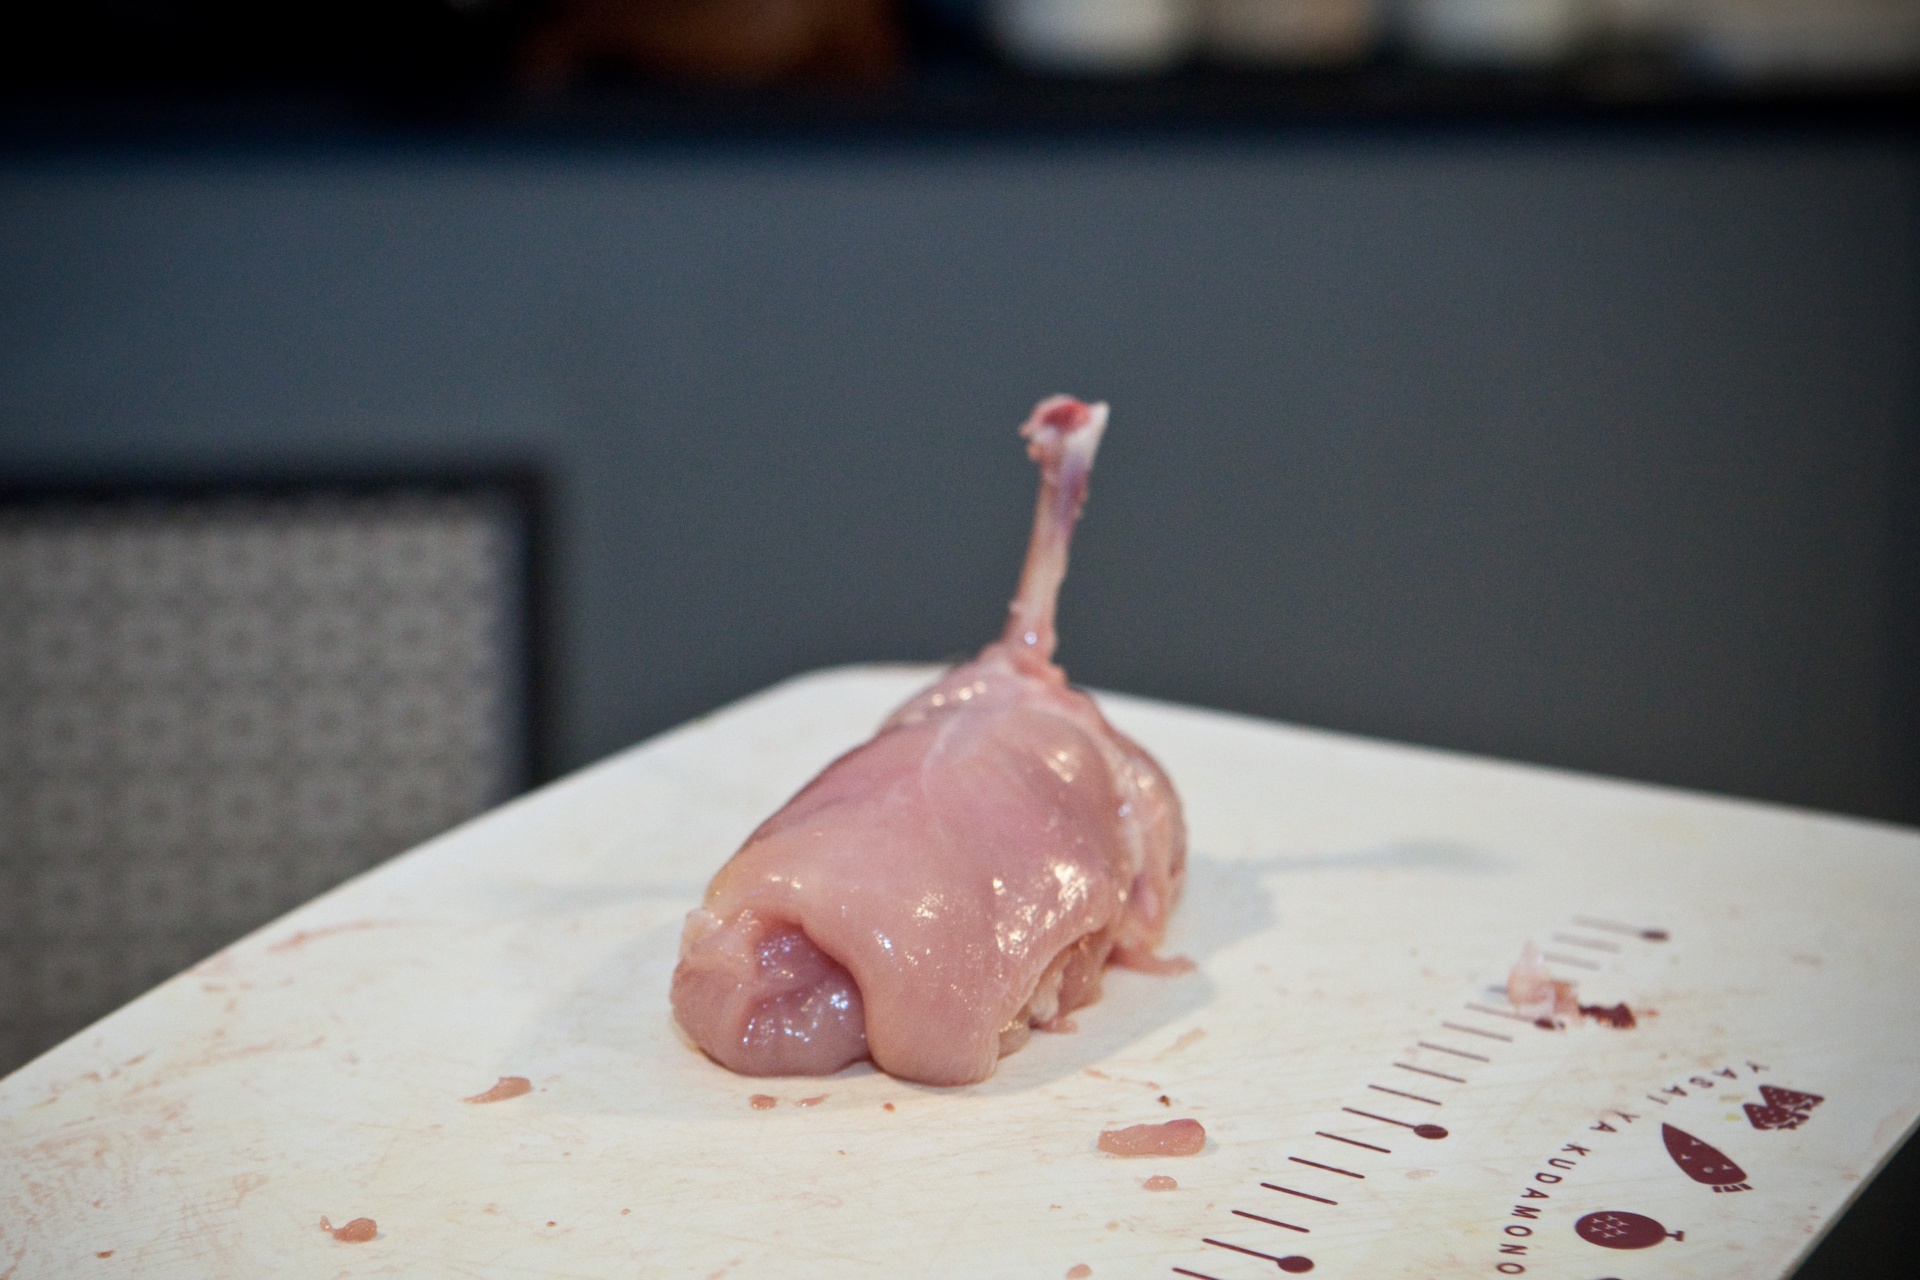
Cut off the 2 lower parts of the wing leaving only the upper piece – with the largest bone.
Take off the skin and clean the end of the bone that will be sticking out like a handle.
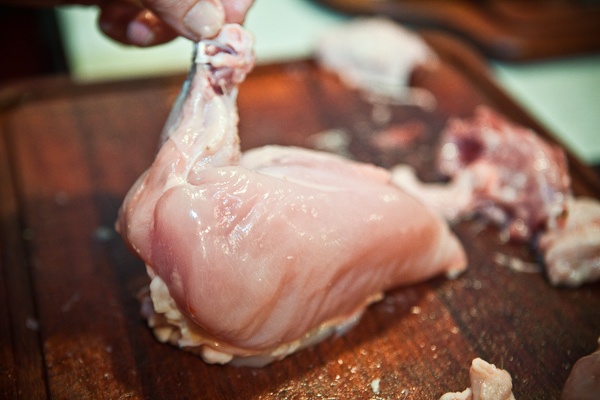
You can cut the meat off the bone completely or just push it with a knife towards the rest of the meat.
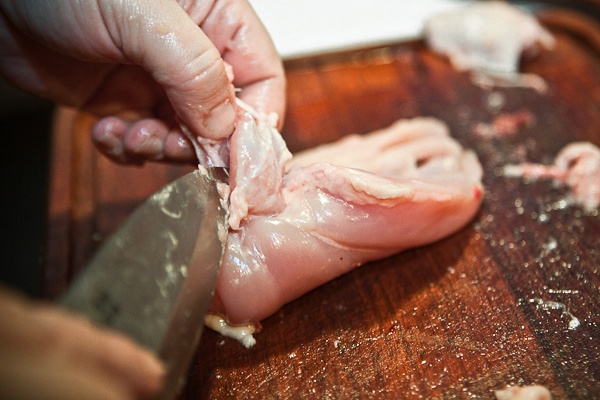
Remove the bones and cartilage from each half of the chicken breast.
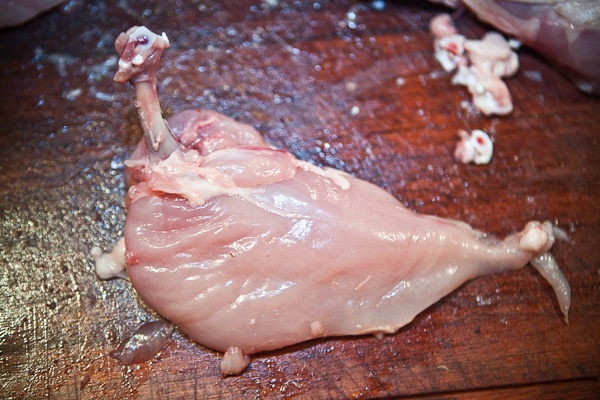
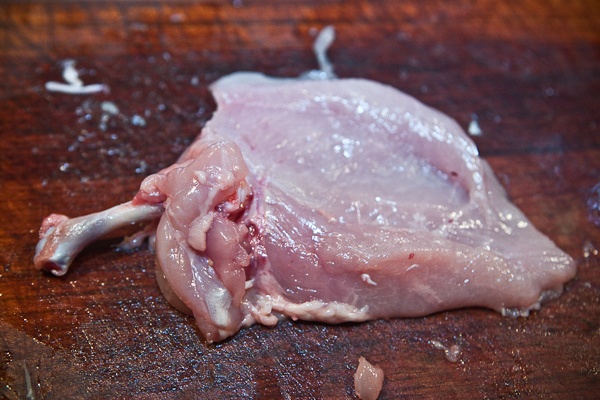
You should end up with 2 equal pieces of boneless chicken breast with a wing bone in each.
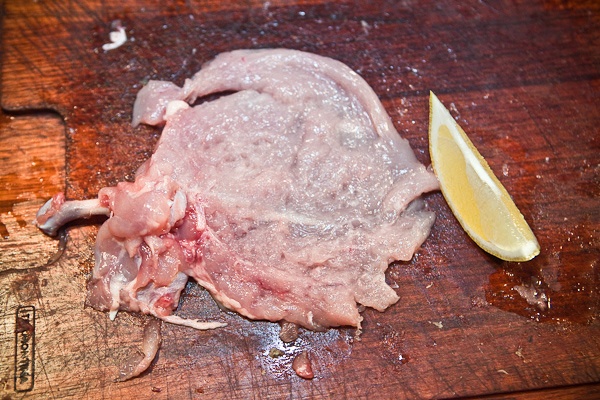
Turn the meat so that the smooth side of the meat faces down.
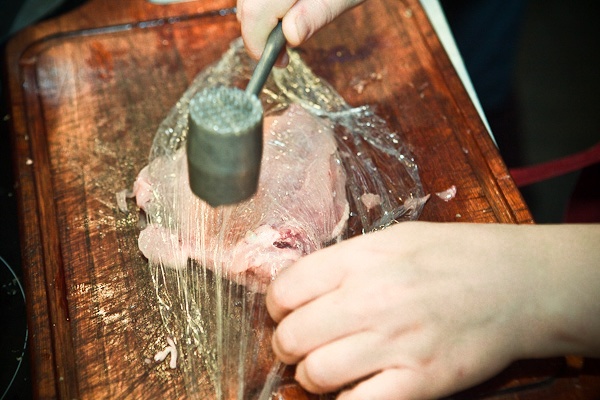
Cover with the plastic film and pound well to make it as wide as possible (with the bone-handle on top).
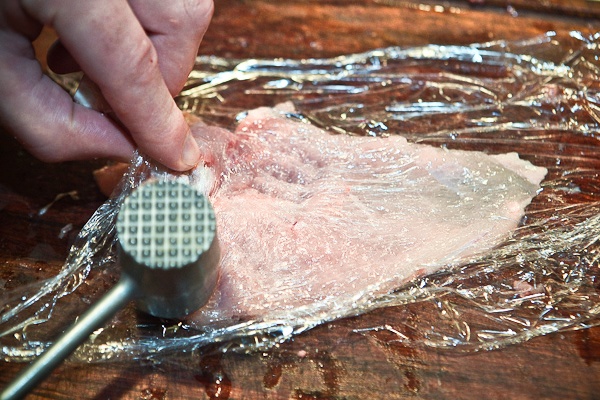
Remove the film. Sprinkle with the salt and lemon juice.
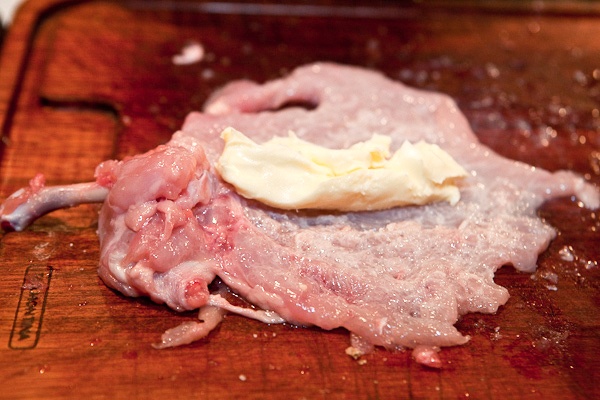
Cut the butter in 2 pieces. Place a piece of the butter in the middle of the chicken.
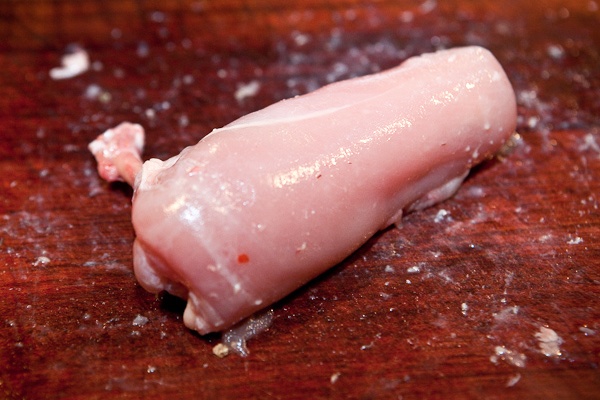
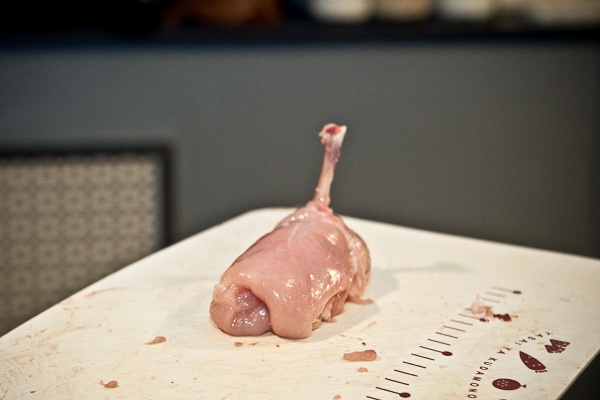
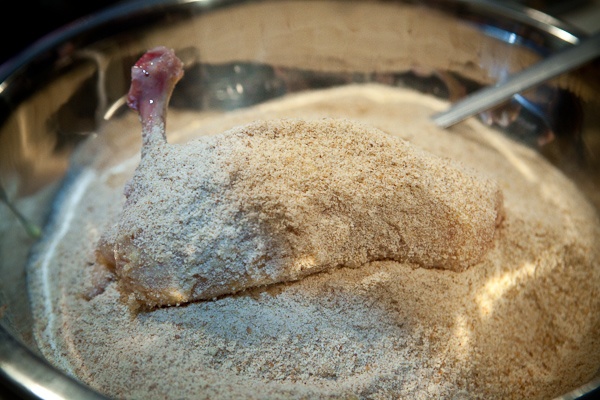
Roll up the chicken. The bone should be sticking out about 1 inch. The lower part of the roll should be folded in to seal the butter.
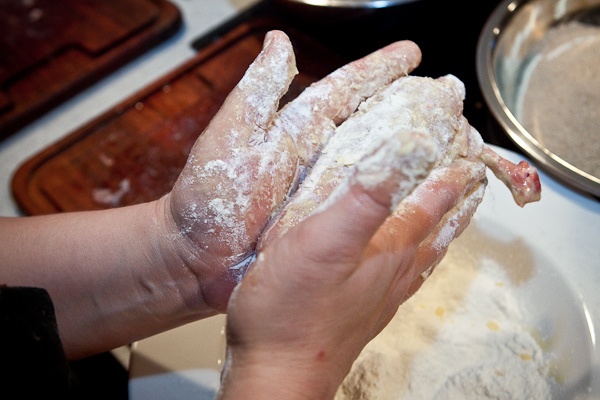
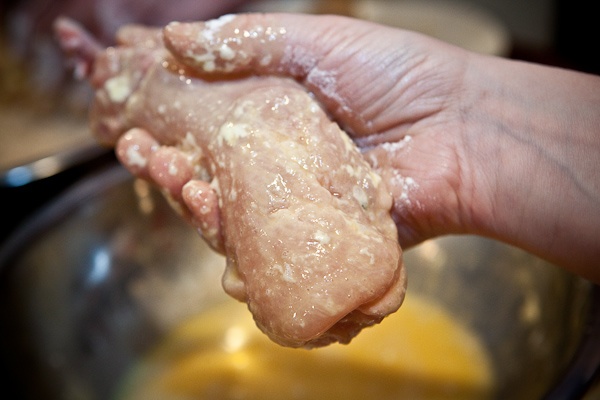
Roll the meat in the flour, dip in the egg and thoroughly roll in breadcrumbs.
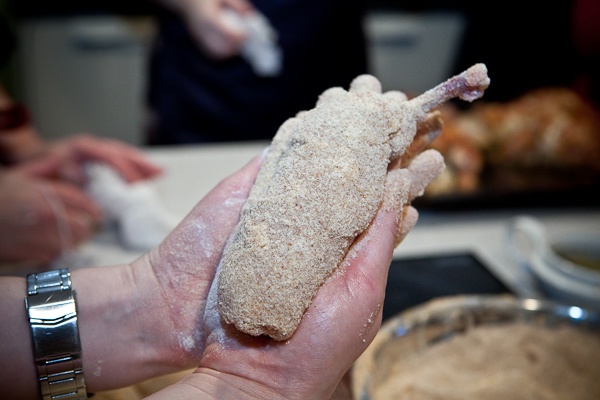
Place the rolls inside a freezer for 15 minutes. This is necessary for the butter to stay inside the roll during frying.

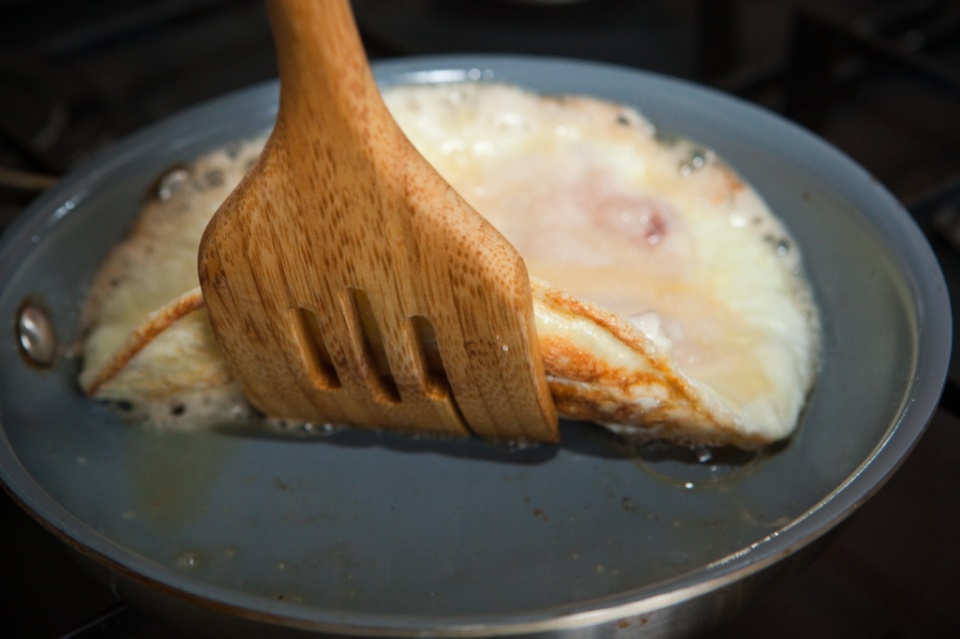
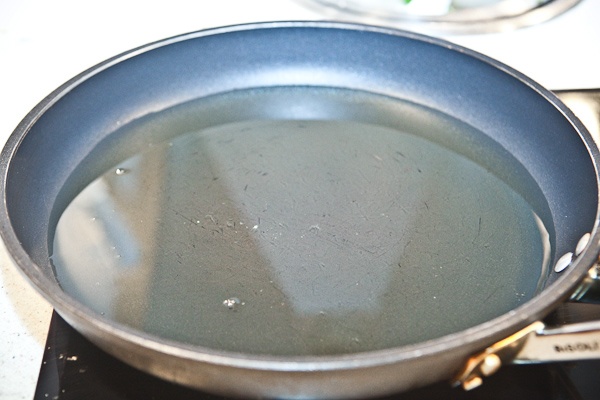
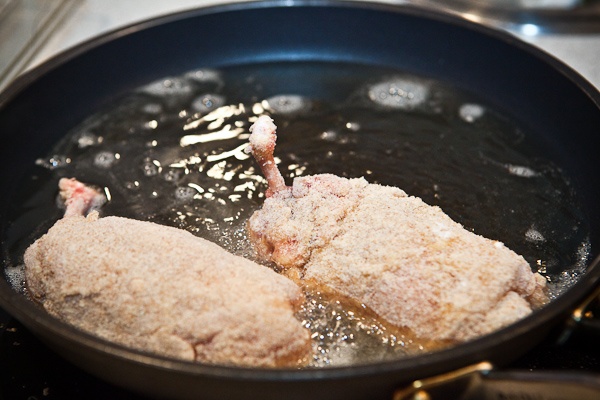
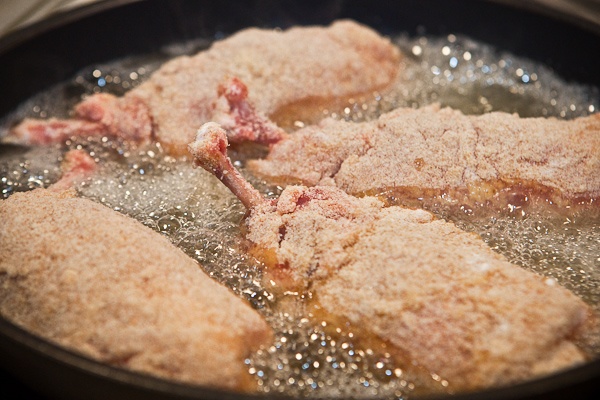
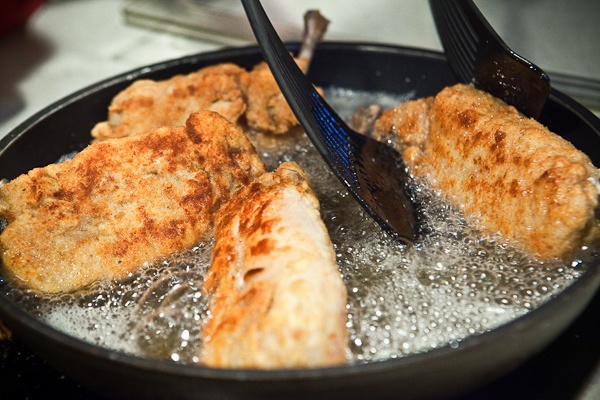
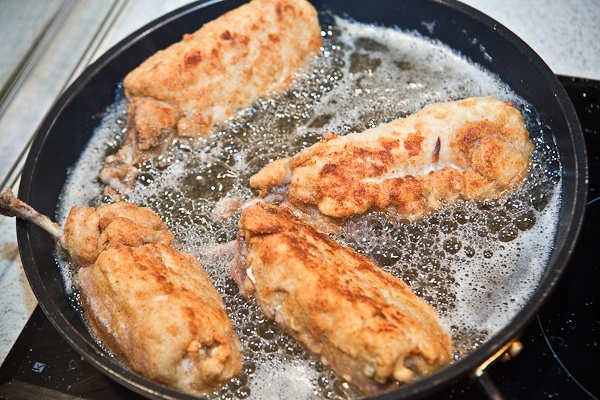
Pour the oil into a deep frying pan or a stew-pot and heat it. Cook the chicken rolls on all sides only till they’re golden-brown all over.
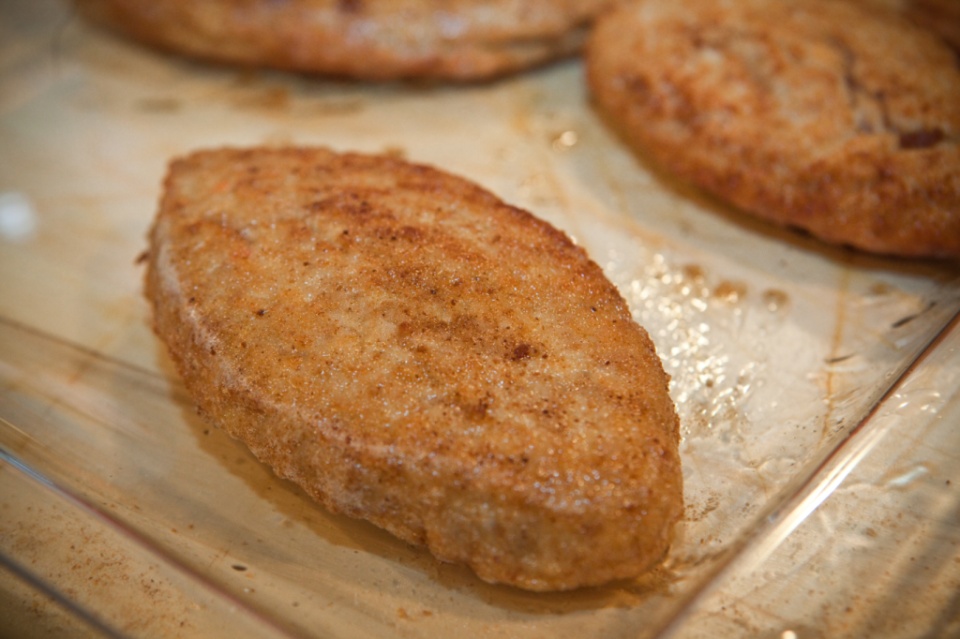
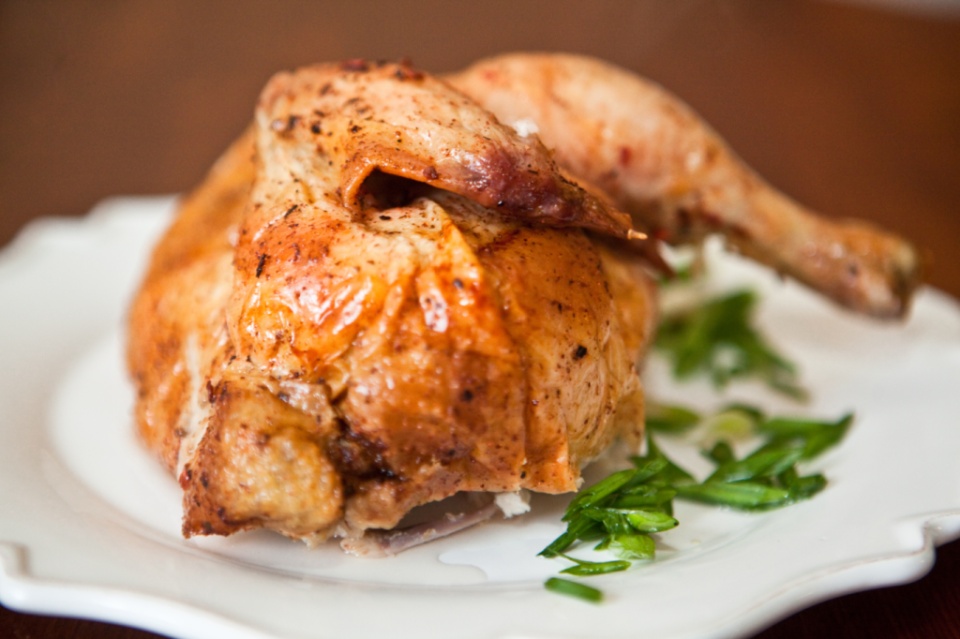
Then take the Chicken Kiev out of the frying pan and transfer to a baking tray.
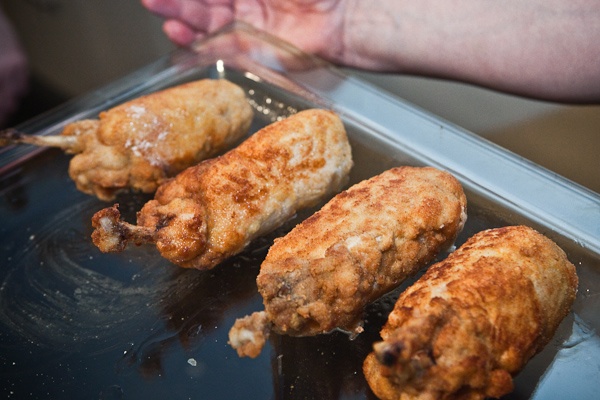
Place into a preheated oven (400F) and cook for another 8-10 minutes.
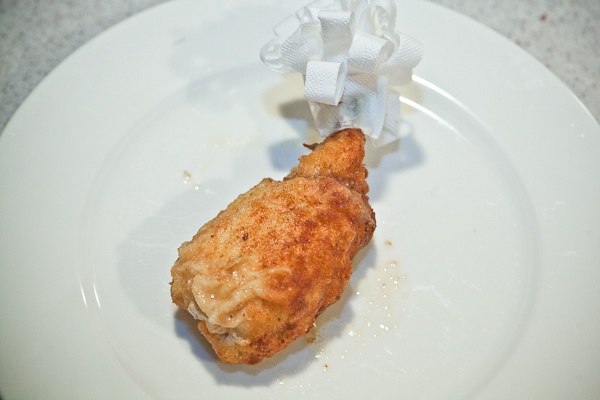
Make decorative covers out of paper napkins and wrap the tips of the bone-handles.
To make these covers, fold the napkin lengthwise, then fold again and make scissor cuts along the folded edge till about a half-inch is left. Wrap the cover around the bone and fasten by tucking the edge under, then fluff the cut part making it look like a flower. These covers protect the fingers from grease when you pick the Chicken Kiev up by the bone-handle.
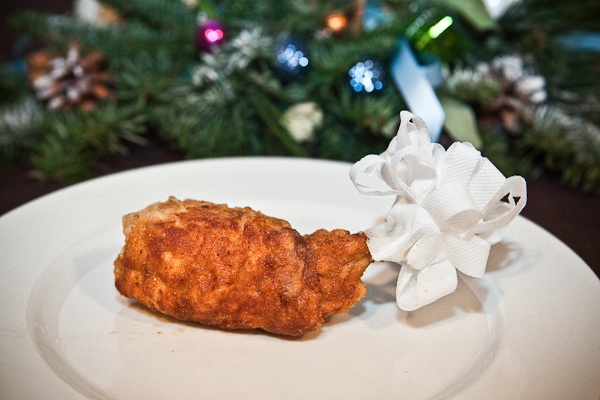
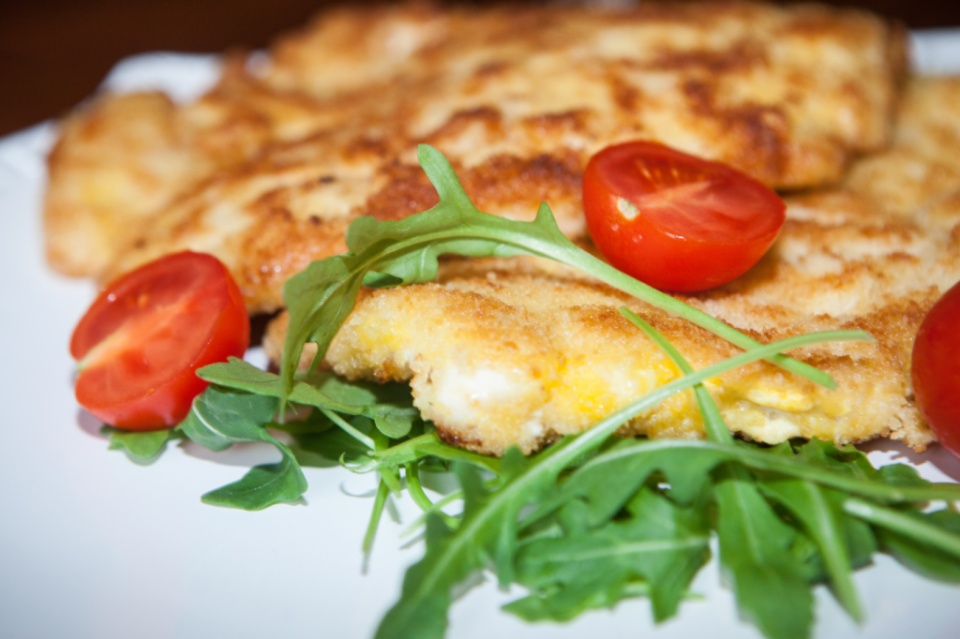
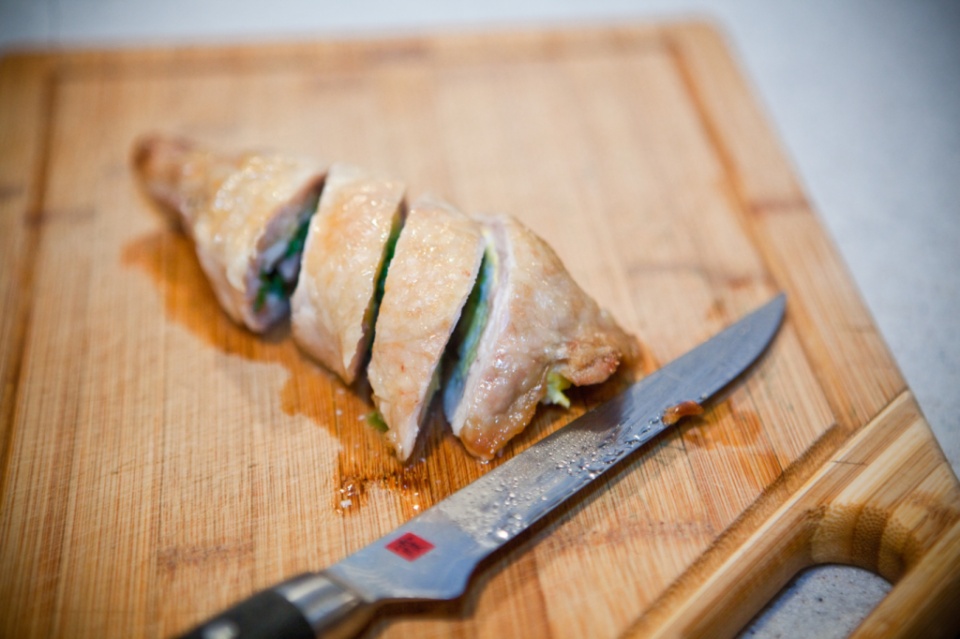
Serve hot. The butter should leak out when the Chicken Kiev is cut.