Pork Chops
Pork chops are very easy to make. The most important part is to pound the meat well and not to overcook it to avoid it becoming too dry.

Serves 5
1.2 lbs pork (boneless)
2 tablespoons vegetable oil
Half teaspoon salt
Pork chops are very easy to make. The most important part is to pound the meat well and not to overcook it to avoid it becoming too dry.
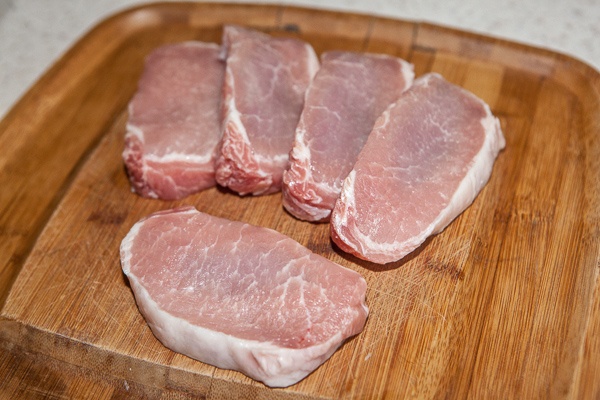
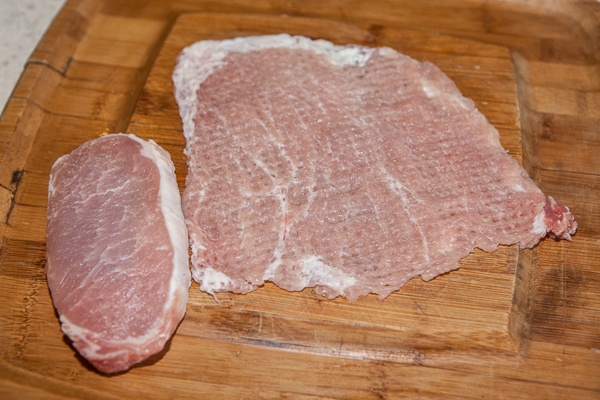
Cut the pork into 5 equal parts.
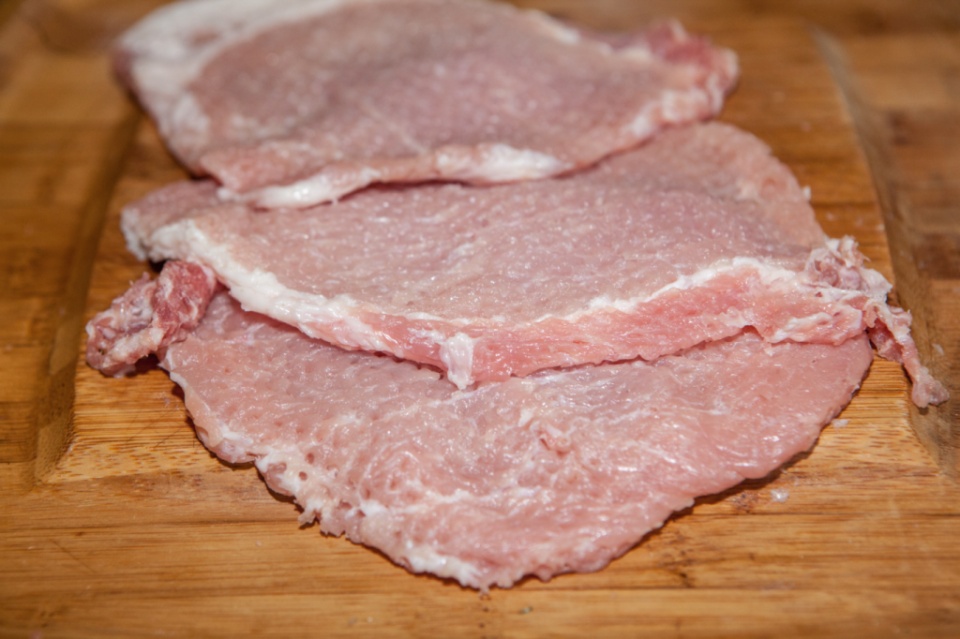
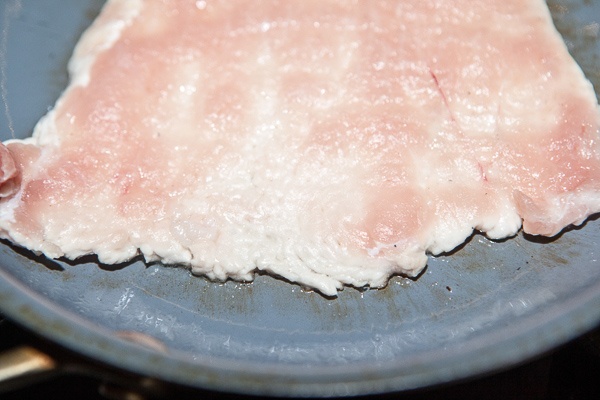
Place each piece of the meat onto the working surface. Cover with plastic wrap and carefully pound with a meat mallet on both sides till uniformly thin.
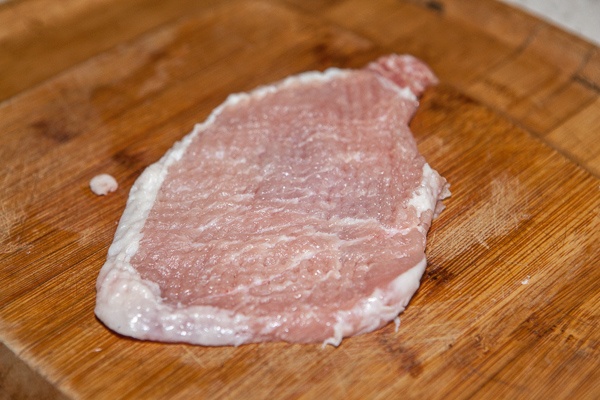
Always make sure to pound the meat across the grain. Also, hold the mallet slightly tilted from the center towards the edge of the meat. This way you won’t be just pounding the meat vertically but also increase the size of the chop with each hit of the meat mallet.
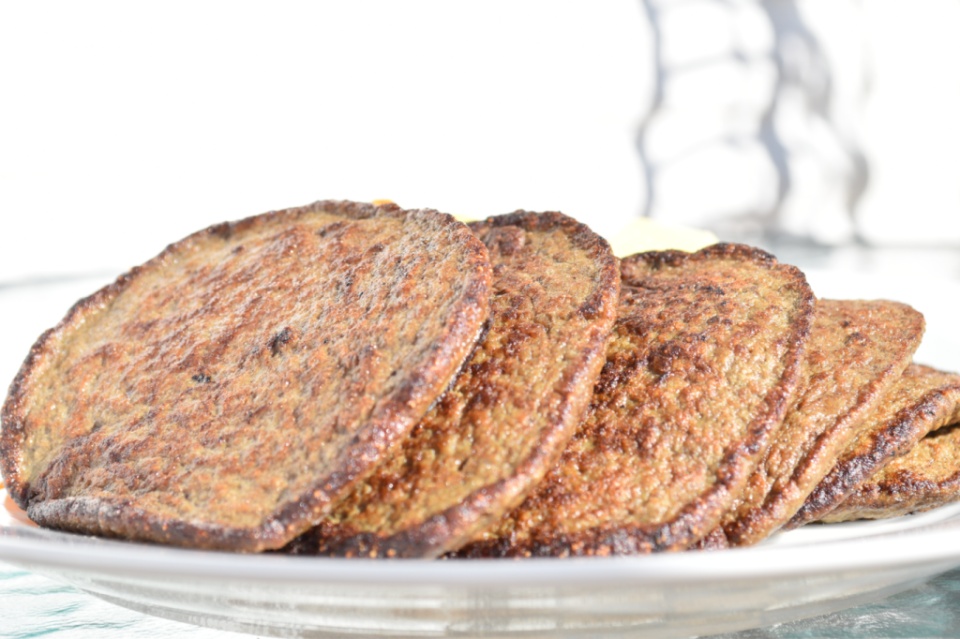
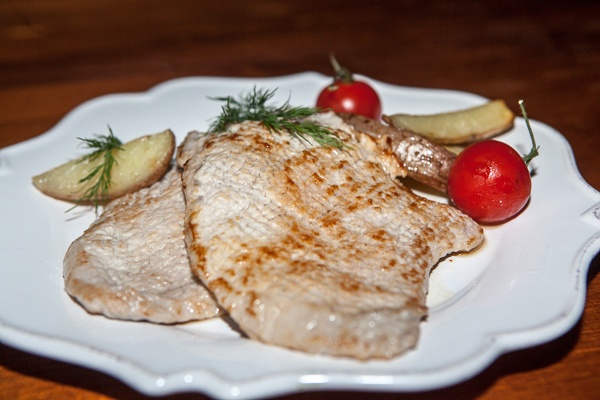
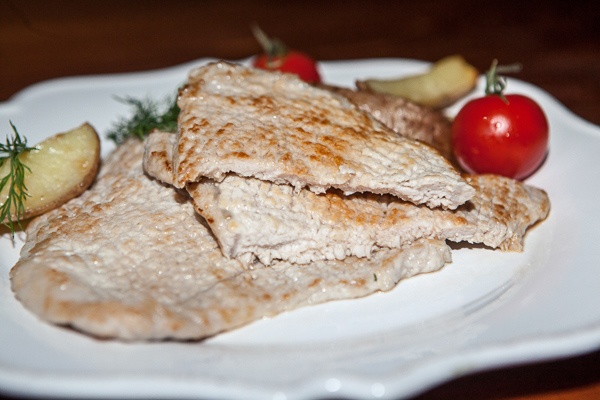
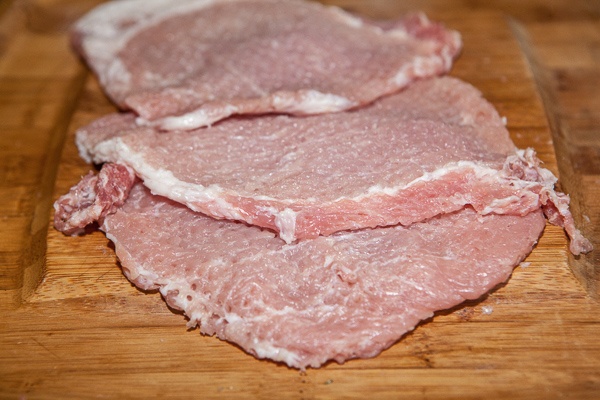
Compare the photos:
Sprinkle the pounded chops with the salt.
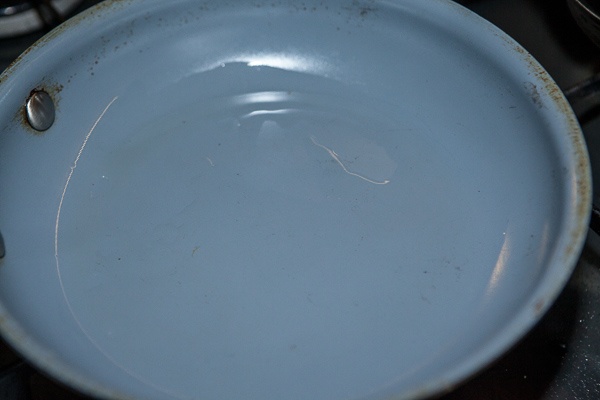
Place a skillet on a medium-high heat.
Warm it up for 1-2 minutes.
Oil the skillet using a brush or a paper towel.
Place a chop onto the skillet.
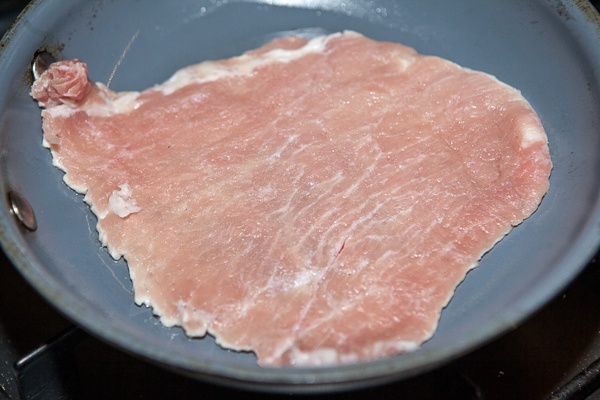
Start counting immediately: one, two, three, four, etc. Stop right when the meat changes color from the bottom up.
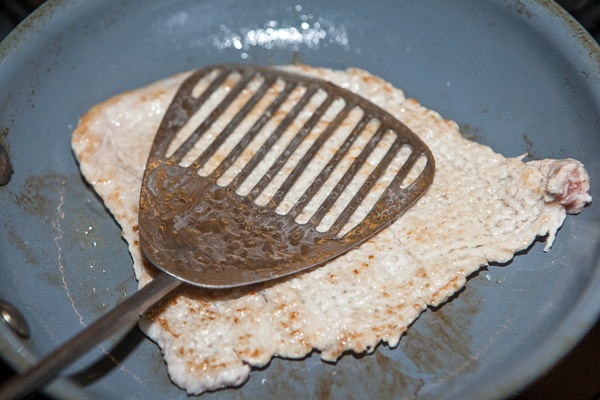
Turn the chop over. Press it to the skillet with a spatula and start counting back from the same number where you stopped to turn the chop over. Nine, eight, seven… three, two, one. Done!
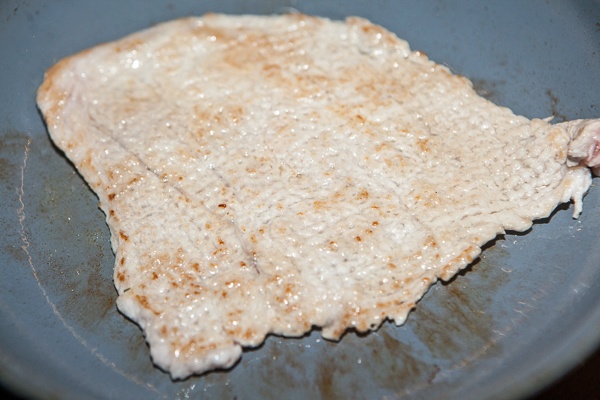
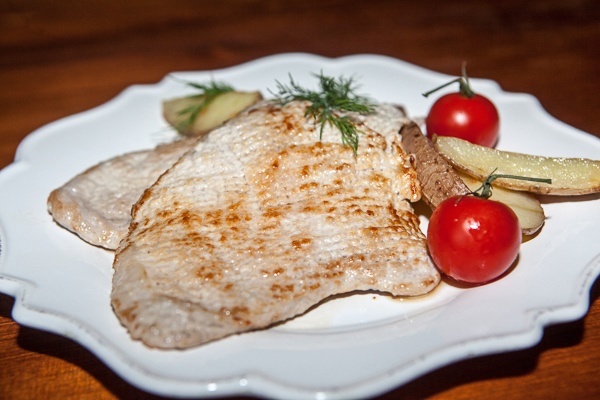
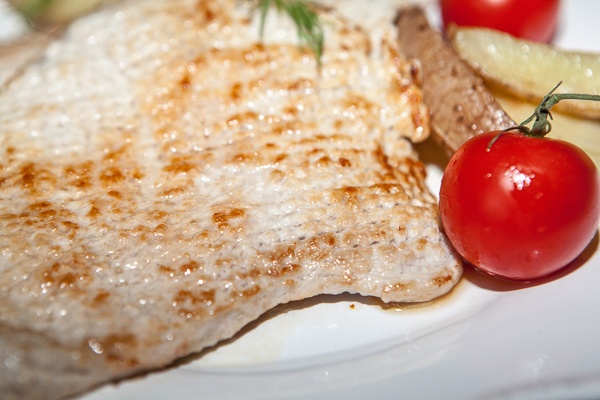
Remove the chops from the skillet immediately and enjoy their juicy softness!
Don’t forget to oil the skillet before cooking each chop – oiling it in the same way as described above, rather than pouring the oil in.
If the chop starts curling up on the skillet, press it down with a wide spatula.